|
Now that Stimpy is liquid cooled, not air cooled, it's time to remove the snorkel that was part of the original case.
|
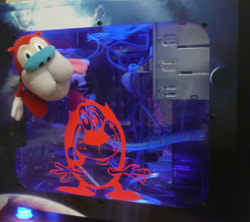
Although Stimpy liked to hang out in the hole, the panel was getting a bit scuffed up.
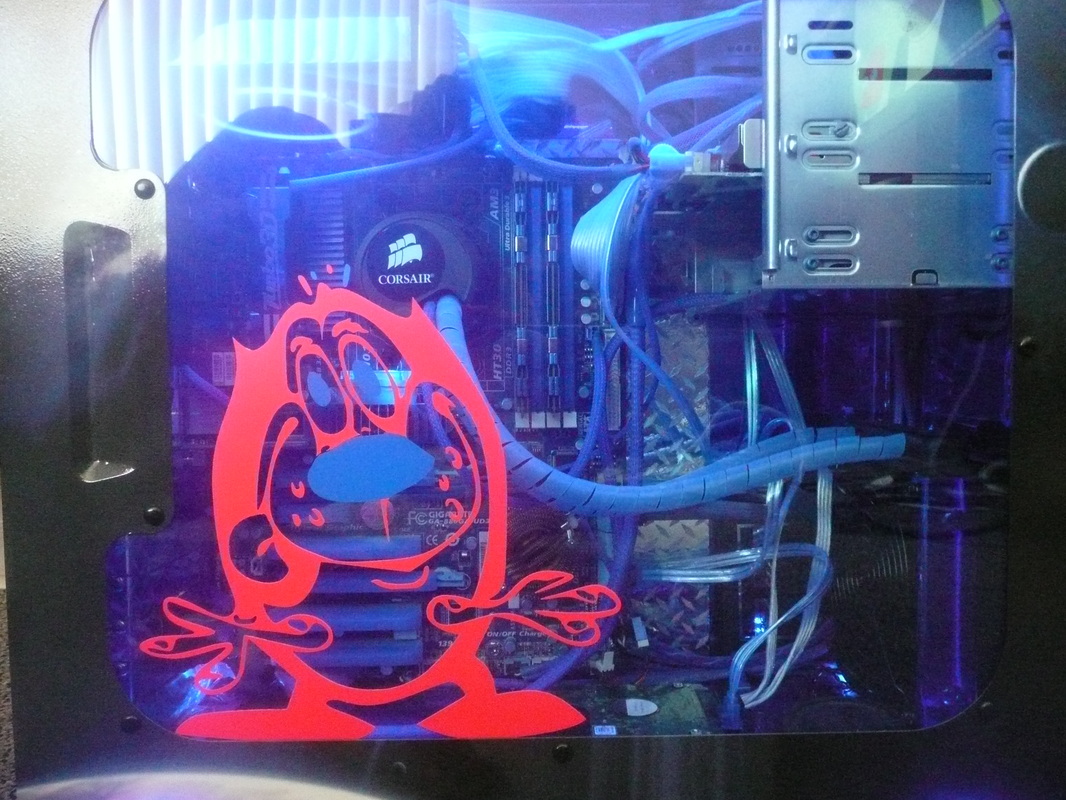
I ordered 2 more Stimpy appliques from FrozenCPU.com, one in red and the second in blue.
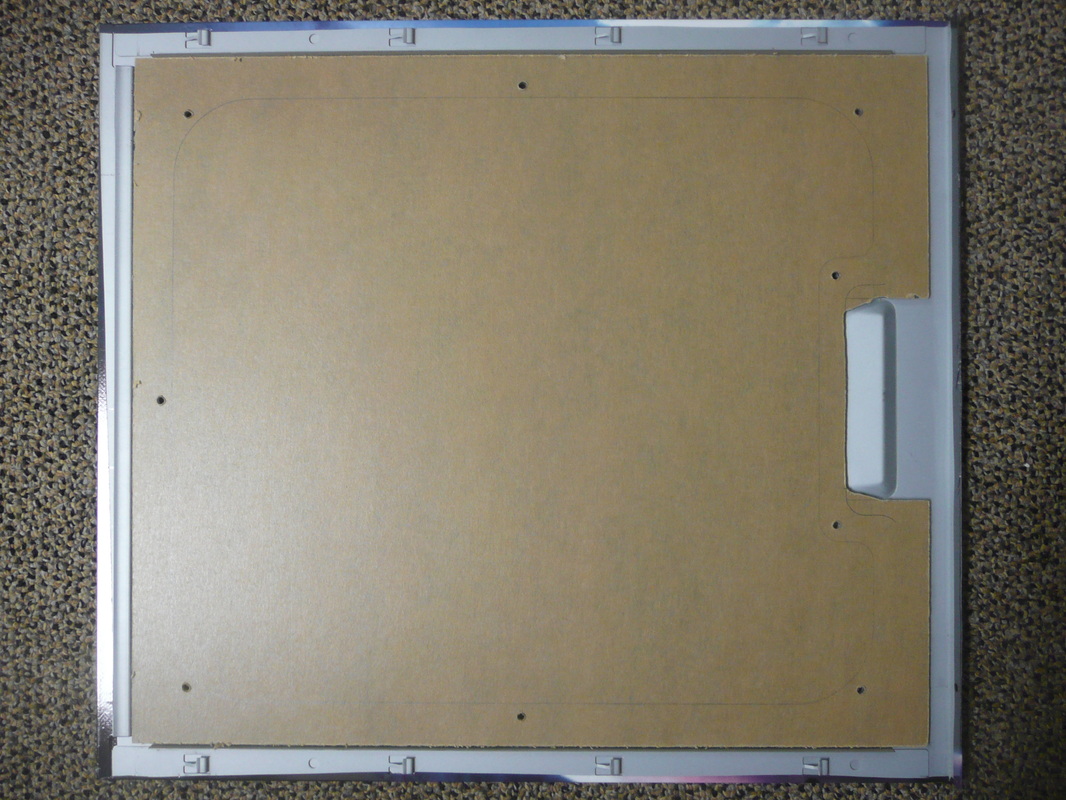
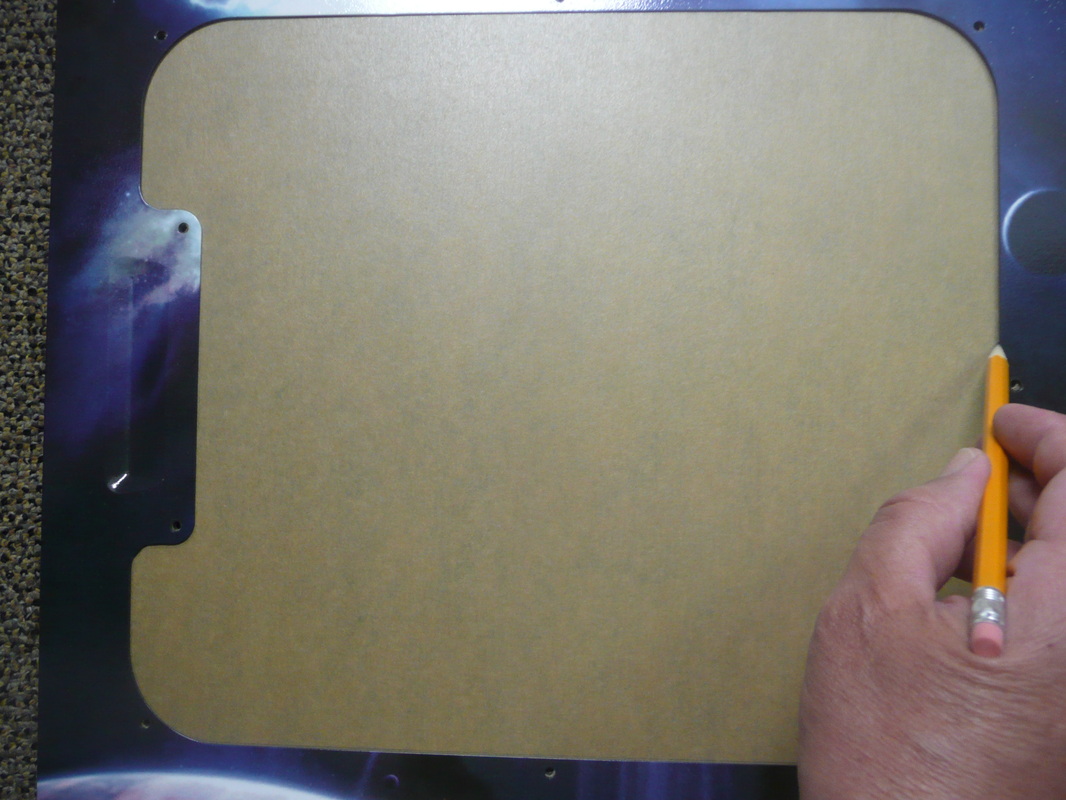
From another vendor, I ordered a 24" square sheet of UV blue acrylic, and since they offered 2 free cuts, had it sized to fit. Used a hand saw to cut out the area for the handle indentation. I drew a line around the window for reference, and marked where the holes needed to be drilled for the mounting pins. Using a drill press, I only had to file out two holes to adjust where my hand held alignment was off.
I did make the panel a bit too big. Later I found that the panel would not fit on the case. I had to cut it back by the handle to clear the frame. I also had to trim out a little to clear the case fan.
I ordered 2 more Stimpy appliques from FrozenCPU.com, one in red and the second in blue.
From another vendor, I ordered a 24" square sheet of UV blue acrylic, and since they offered 2 free cuts, had it sized to fit. Used a hand saw to cut out the area for the handle indentation. I drew a line around the window for reference, and marked where the holes needed to be drilled for the mounting pins. Using a drill press, I only had to file out two holes to adjust where my hand held alignment was off.
I did make the panel a bit too big. Later I found that the panel would not fit on the case. I had to cut it back by the handle to clear the frame. I also had to trim out a little to clear the case fan.
|

With the applique still on the transfer paper, I carefully cut out both noses and swapped them out. I also decided to swap out the eyeballs. The indentations on the transfer paper made re-aligning them easy.
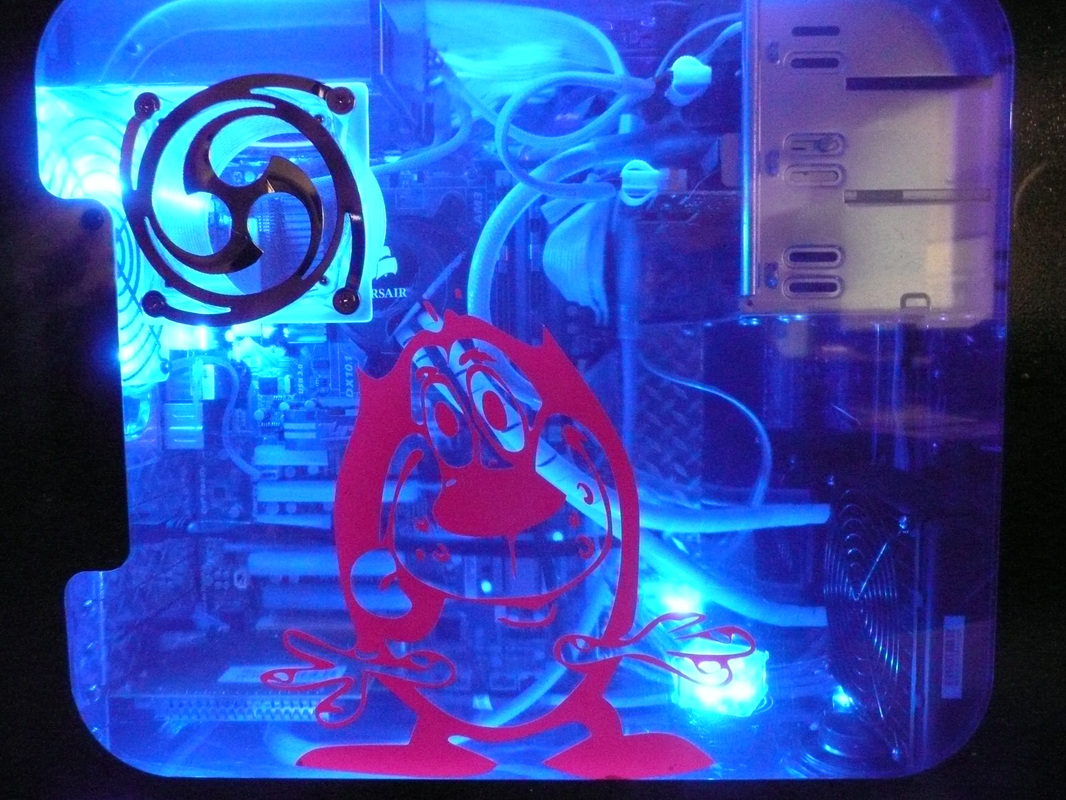
Since I had the pencil line for the window opening, I left the bottom edge of the protective paper in place on the back side of the acrylic to help line up where Stimpy should be standing. I placed a straight edge along the line, and tore the paper along the bottom as I removed it. Per the applique instructions, I washed the panel and then applied my modified sticker. |
The result, it came out much better than the first one! Fewer bubbles and no scuffed edges. And with Stimpy off to the side instead of centered, more window to show off the insides!
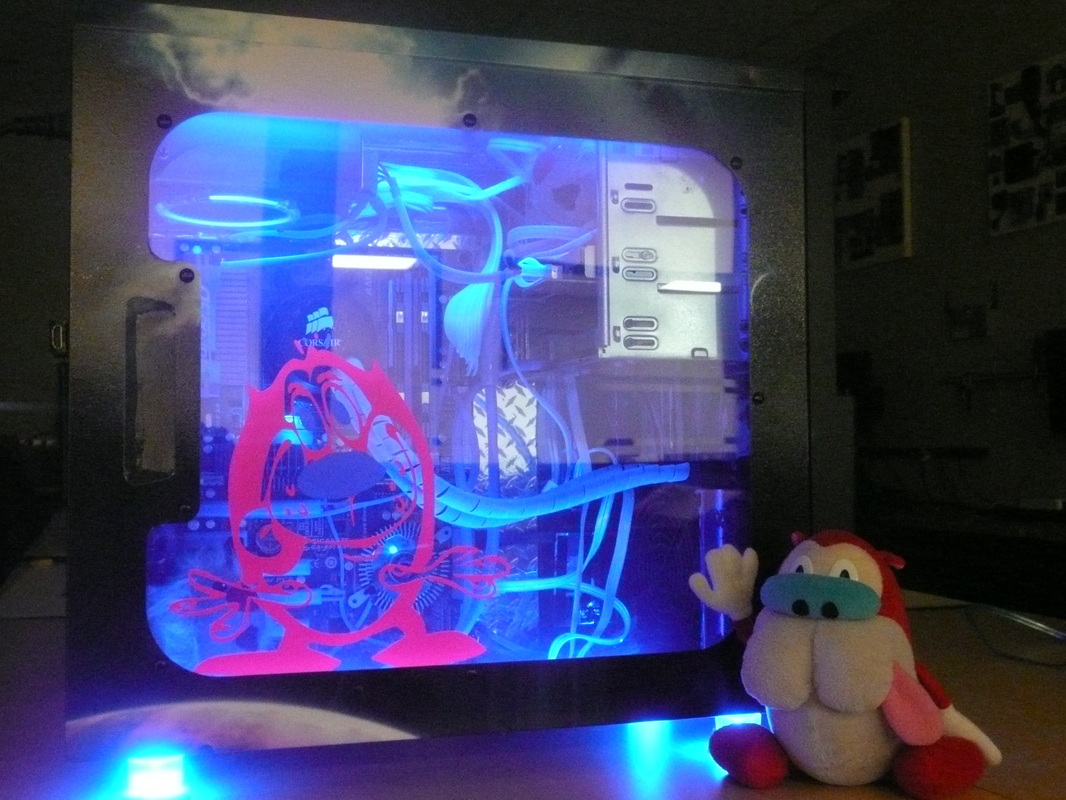
Stimpy approved!
