Who would mod an SSD drive?
|
We should know that a Solid State Disk drive is basically a bunch of memory that can be accessed just like a conventional hard drive. No problem then to pop off the cover to look at what's inside- and here it is!
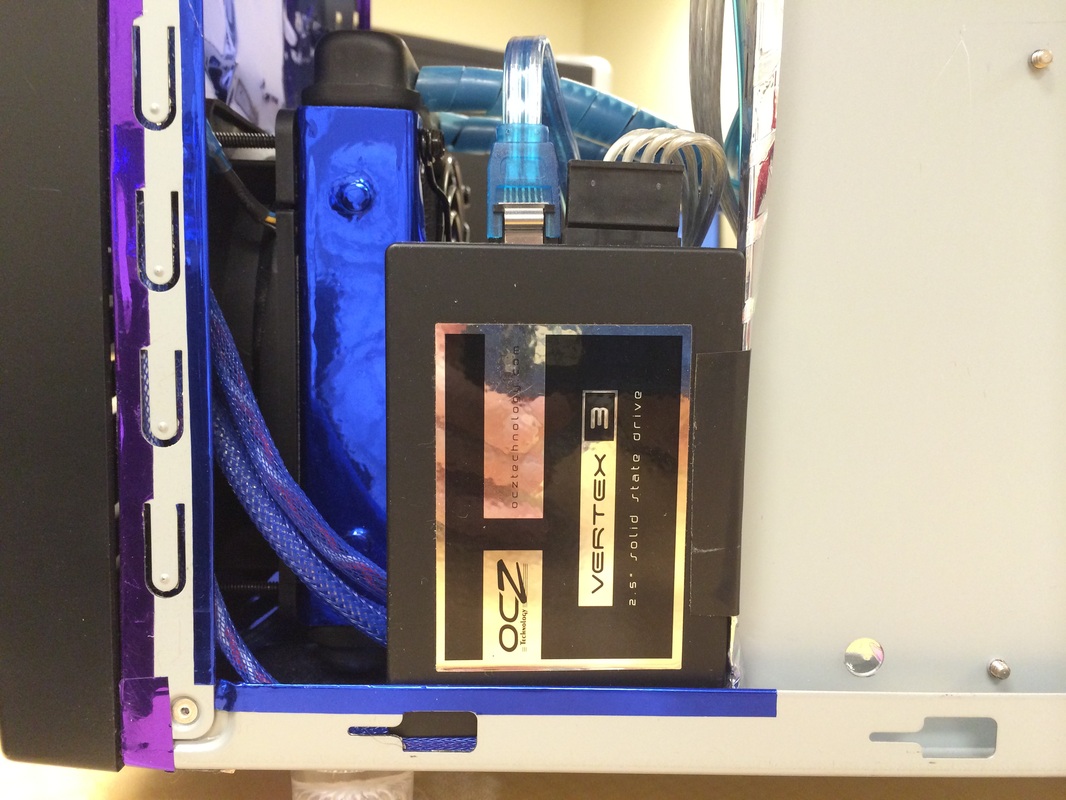
I decided to leave the cover off and mount it somewhere in my case. In the back between the motherboard tray and my radiator seems good, and some electrical tape can keep it from slipping out when I transport my system 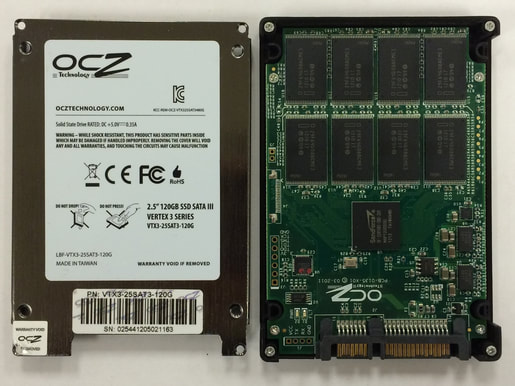
And the warranty has expired- no issues with breaking that seal!
|
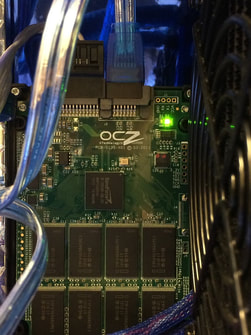 Wow! There's even an LED to let you know its on! Wow! There's even an LED to let you know its on!
|
Speaker bling!
|
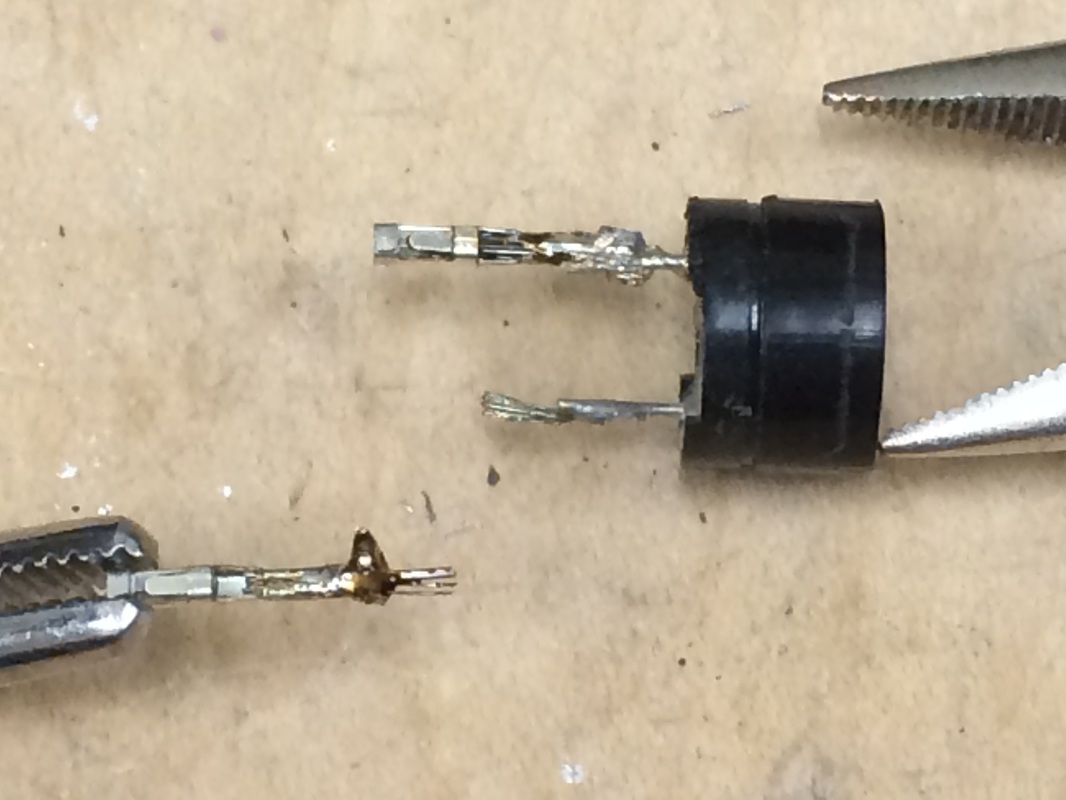
My case came with a 3" speaker that sits on the bottom of the case. You can see it here on my vinyl foil page, looking kinda ugly. I've always wanted to replace it with a piezoelectric speaker which some motherboards have built in. I salvaged this one from an old case where it was mounted behind the front panel. Rather than have some length of wire exposed to wrap or hide, I wanted to attach the speaker directly to the plug which goes onto the motherboard.
|
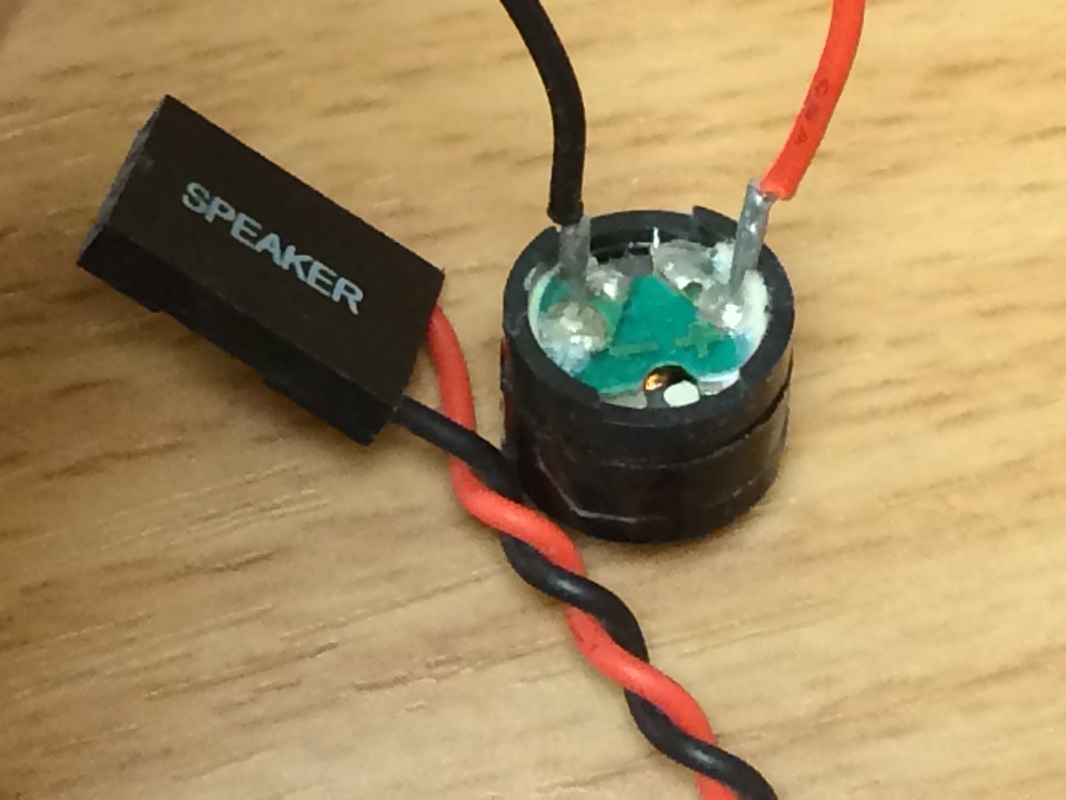
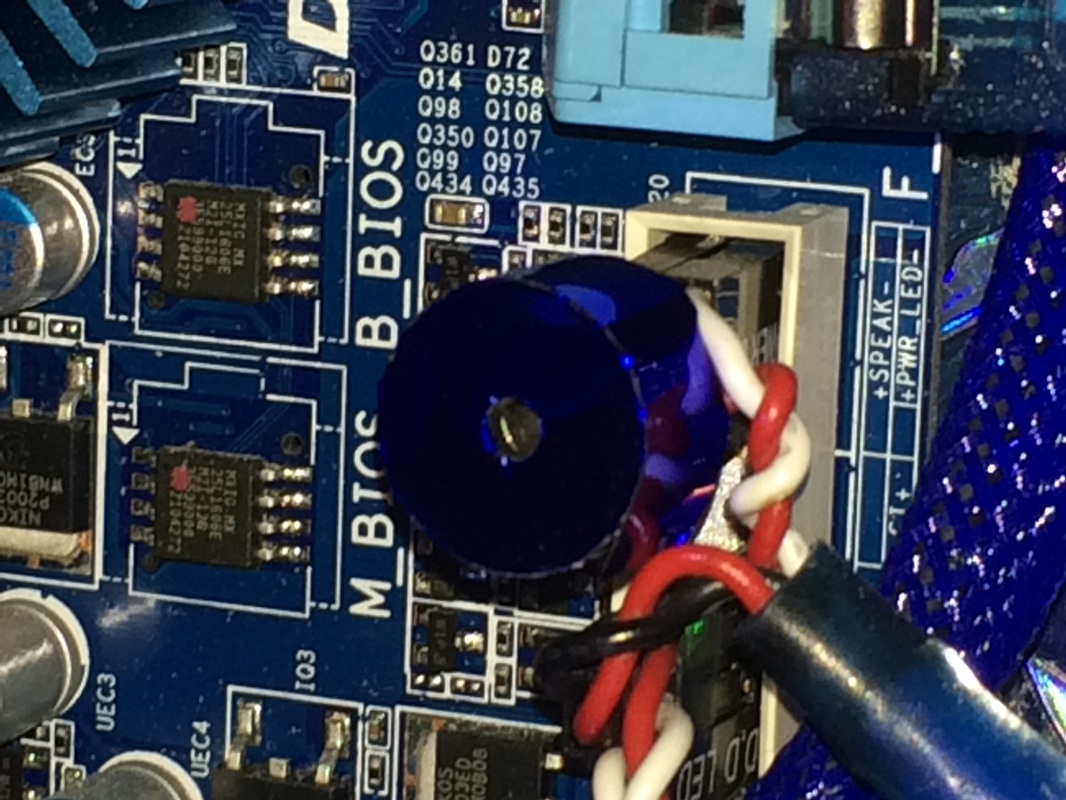
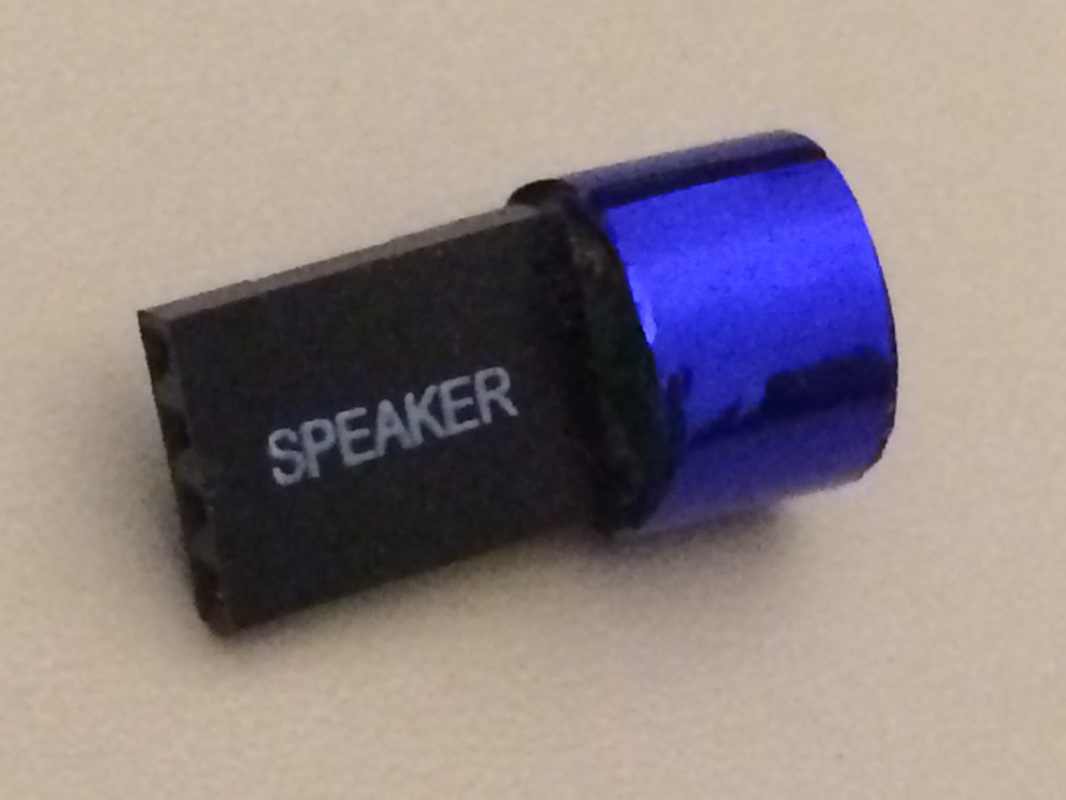
I depinned the plug and desoldered the wire from the pins. Then I clipped the wire from the speaker leaving a short piece still attached. Next I soldered the pins directly to the speaker leads, oriented so they reinsert into the plug. Finish it off with some blue vinyl foil.
If I make another one, I'll leave 1/4" between the plug and the speaker. I forgot to account for the other wires in the header. Now I can cover those speaker holes in the bottom of the case.
|
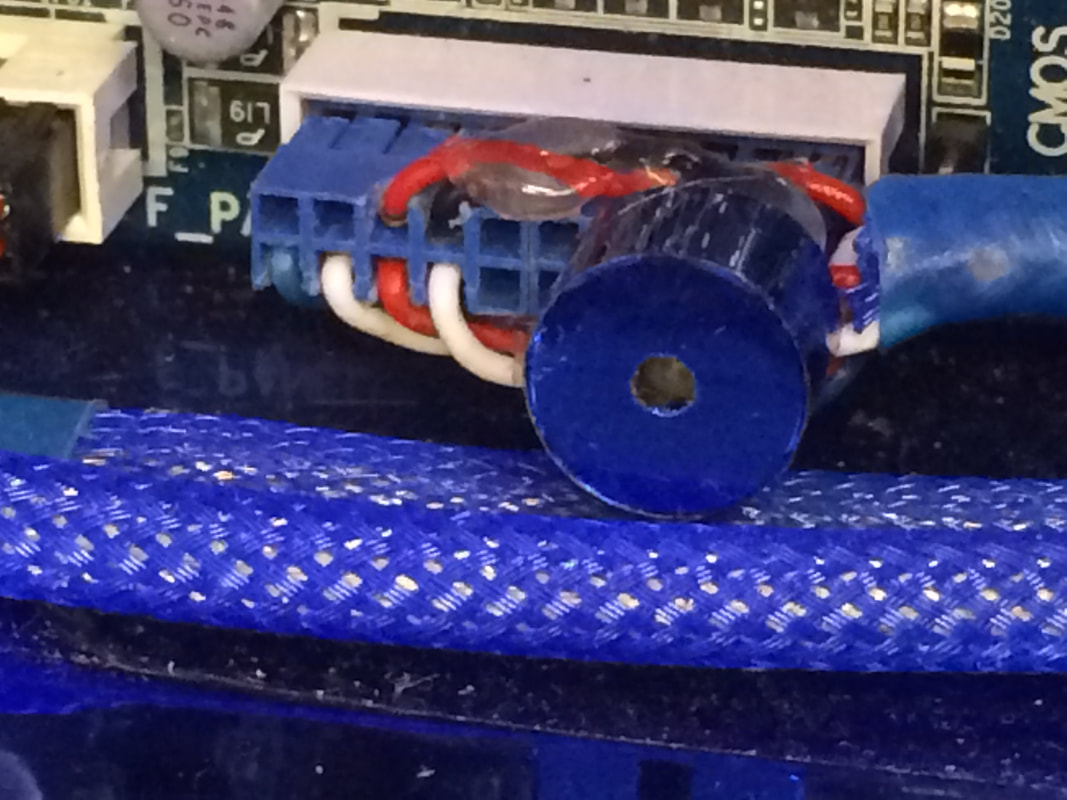
Ok, I did make another one! Instead of having the messy wires as above, I found a suitable blue header plug to fit onto the motherboard. Used a Dremel to open up the sides of the header allowing the wires to come out to the side instead of straight up. Now I wire the power/reset/LEDs to the proper place on the plug. And there is no longer the chance of mis-wiring the individual plugs into the header. Resleeved all the wires together and a bit of hot melt glue to hold them next to the plug. And the speaker fits without issue (new version from above)!
Using a laptop optical drive in a desktop
If you work with IDE hard drives and connectors, you might know that a laptop hard drive IDE connector is different from a desktop hard drive: 44 pins instead of 40, smaller pin spacing and no power connector- two of the extra pins are to supply 5 volt power for the laptop hard drive. So you need an adapter to use a laptop IDE hard drive inside a desktop computer. The laptop IDE connector for a CD or DVD drive is totally different! It uses a 50 pin JAE connector. I bought a small interface board that attached to the laptop drive and allowed me to use a standard 40 pin IDE cable. (You can see that interface board on my Hardware elements page) To keep the interface small, it uses a small 4 pin berg power connector like a floppy drive. (Um, my full size floppy drive uses the larger molex power connector just like a desktop IDE hard drive, but nobody uses those floppys anymore!)
|
Blu-ray drives use SATA. (Some DVD drives are also SATA.) SATA is great! With hard drives, the laptop SATA connector is exactly the same size and position as on a desktop hard drive. But wouldn't you know it, the laptop optical drive is different. (Well, I did learn today that the data connector is still the same- only the power connector is smaller.)
No worries- you can get an adapter for that! I bought mine with a berg connector for power. As a safety precaution, I added a piece of cardboard as insulation to prevent the power connector shorting out against the optical drive case. 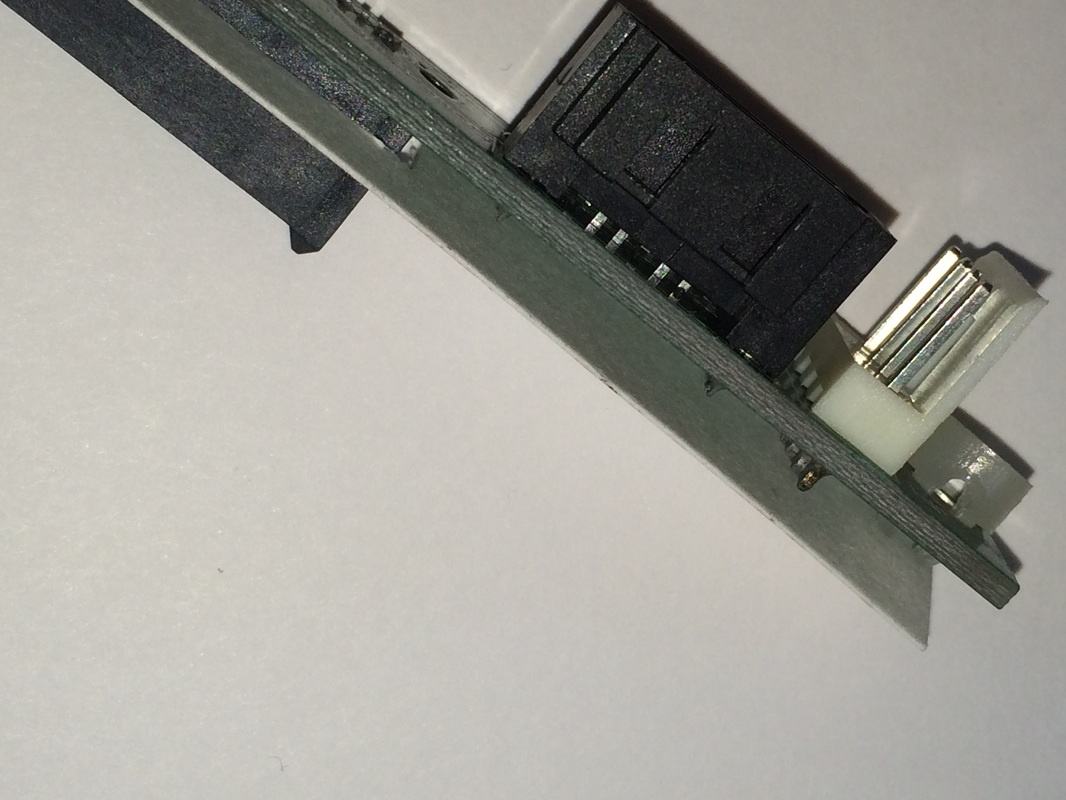
|

|
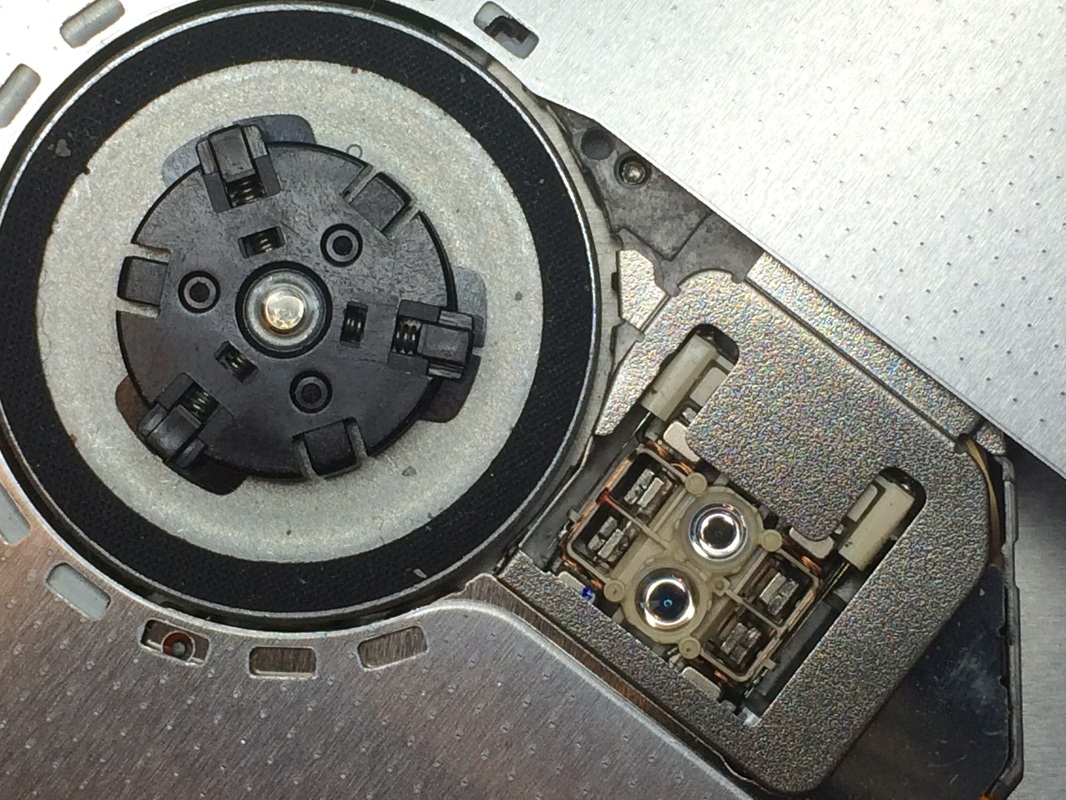
And did you know that a blu-ray drive has two optical assemblies? One to read the blu-ray disks, and a second for compatibility to read DVD or CDs. The older CD/DVD technology uses a red laser, and blu-ray uses a blue laser with shorter wavelength for higher data storage capacity.
Also added blue foil to the cooler pump housing!
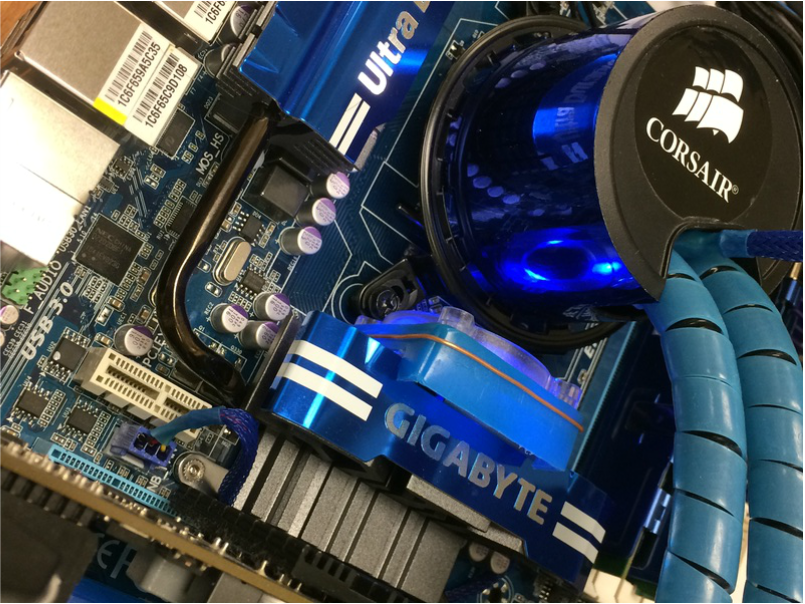
Wait a second! That's a totally different motherboard!
|
Power supply upgrade
|
Another motherboard?
|
