If I want to overclock, the MOSFETs on the board for CPU voltage control, may need extra cooling. I also noticed that during normal operation, the northbridge and southbridge heatsinks were warm to the touch. I also wanted to change out the drab gray heatsinks to something blue.
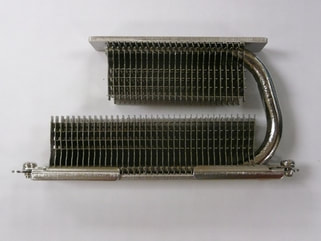
Got this Thermalright HR-09 heatsink.
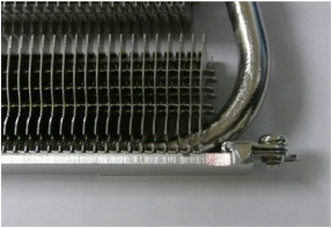
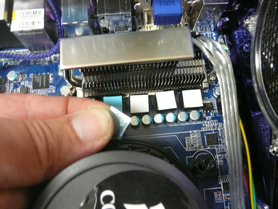
So I carefully ground away some of the base and mount so that it can clear the capacitor that was in the way.
Now it fits like it should. |
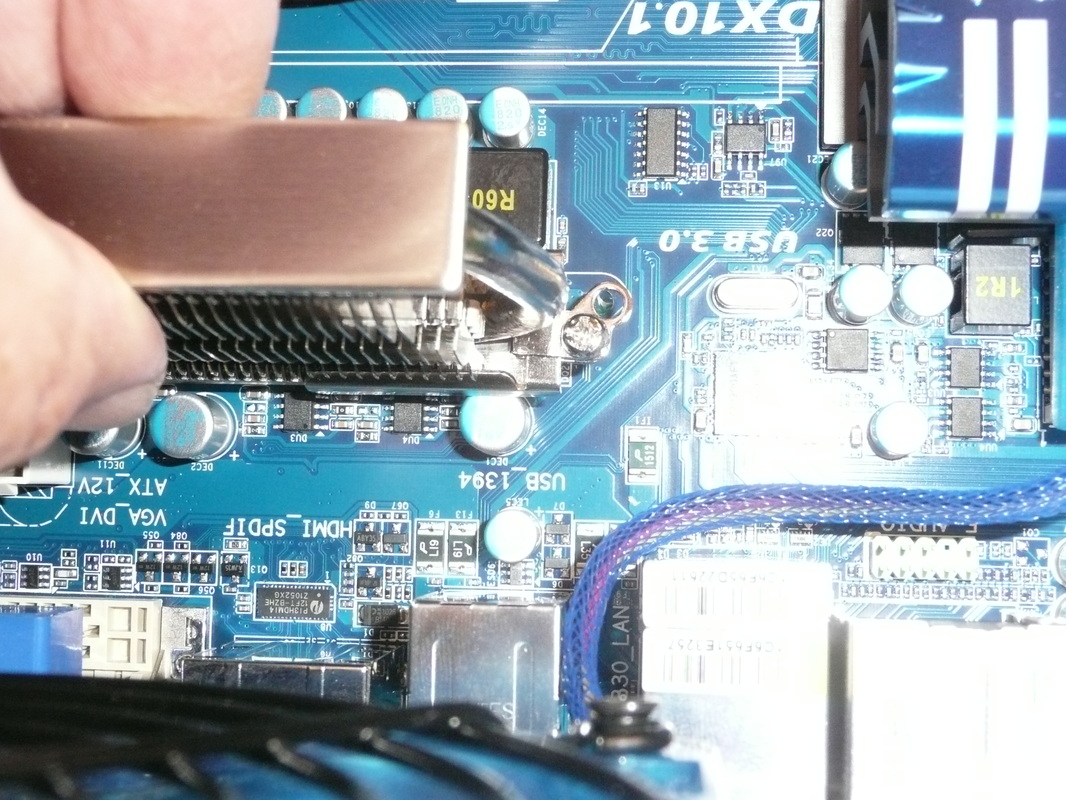
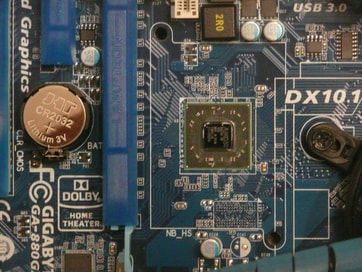
Thermalright has a nice write up in their FAQ on when and why it's important to cool these chips. But wouldn't you know it, one of the capacitors interfered with it's installation.
|
|
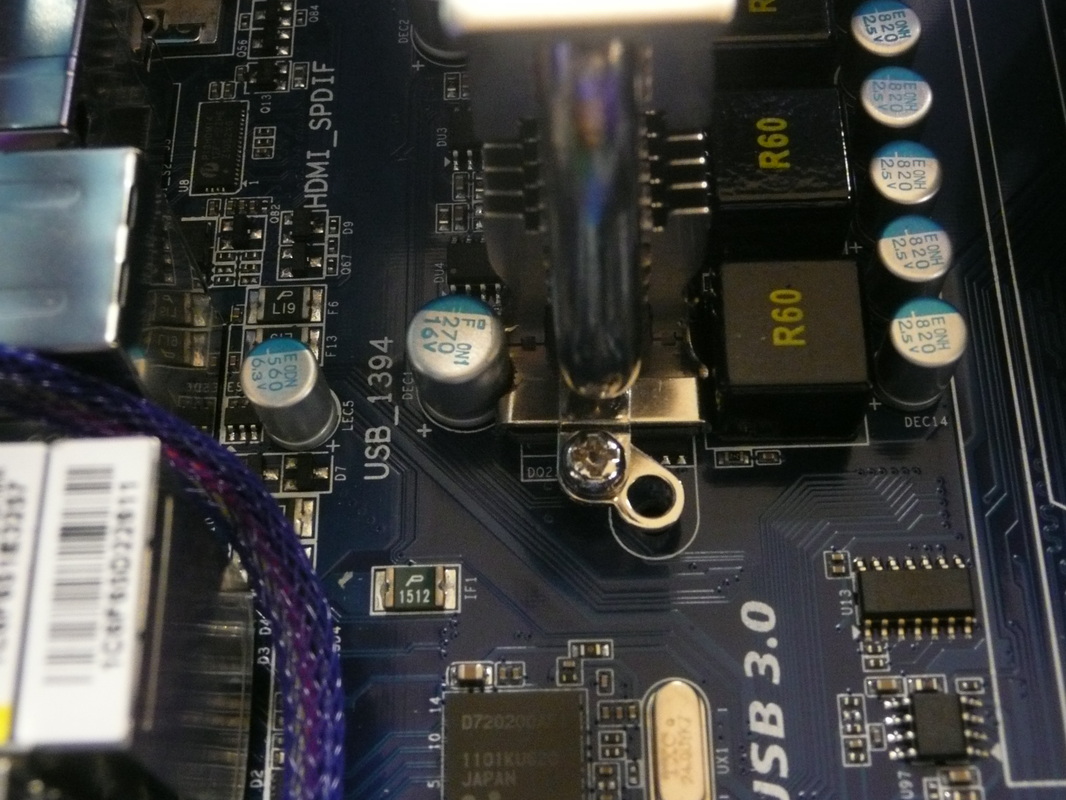
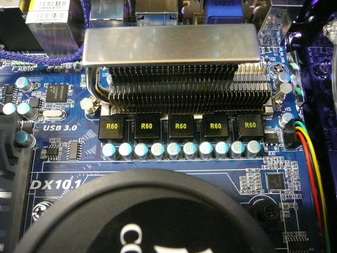
So I don't know what these square R60 components are, or what they do (other than being part of the power regulation for the CPU). They do get slightly warm to the touch. (Later learned that these components are chokes.)
|
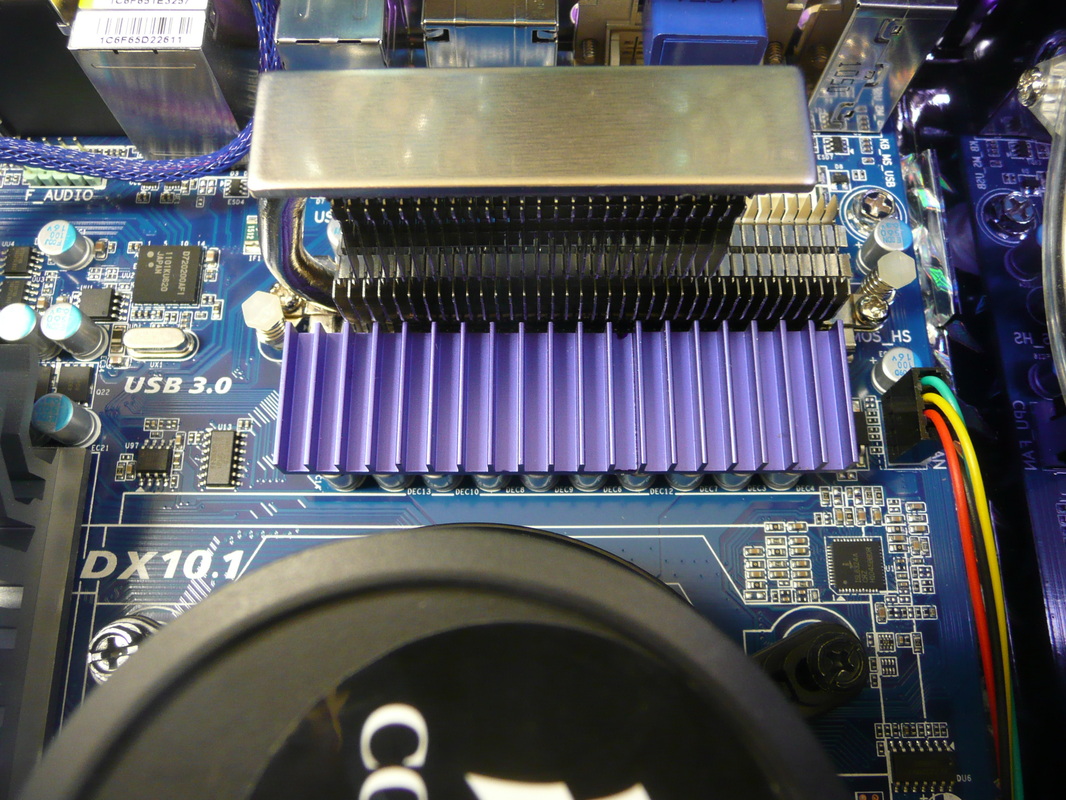
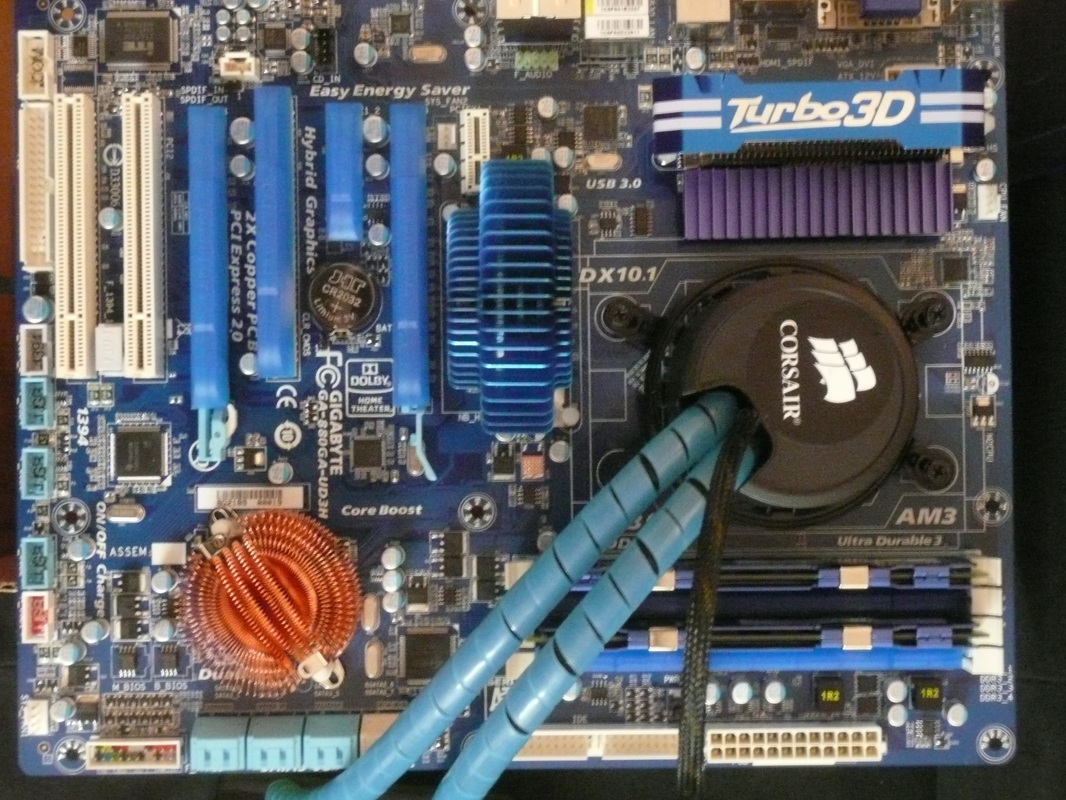
I had some purple heatsinks pulled from an old video card that would look great inside Stimpy. Some thermal tape from FrozenCPU to hold them down. Looks much better. Cooling is negligible, this modification is mainly for the looks.
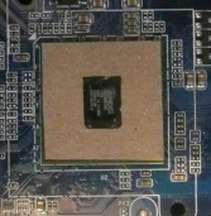
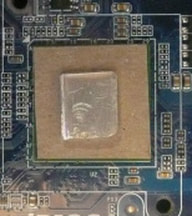
Northbridge and Southbridge heatsinks
|
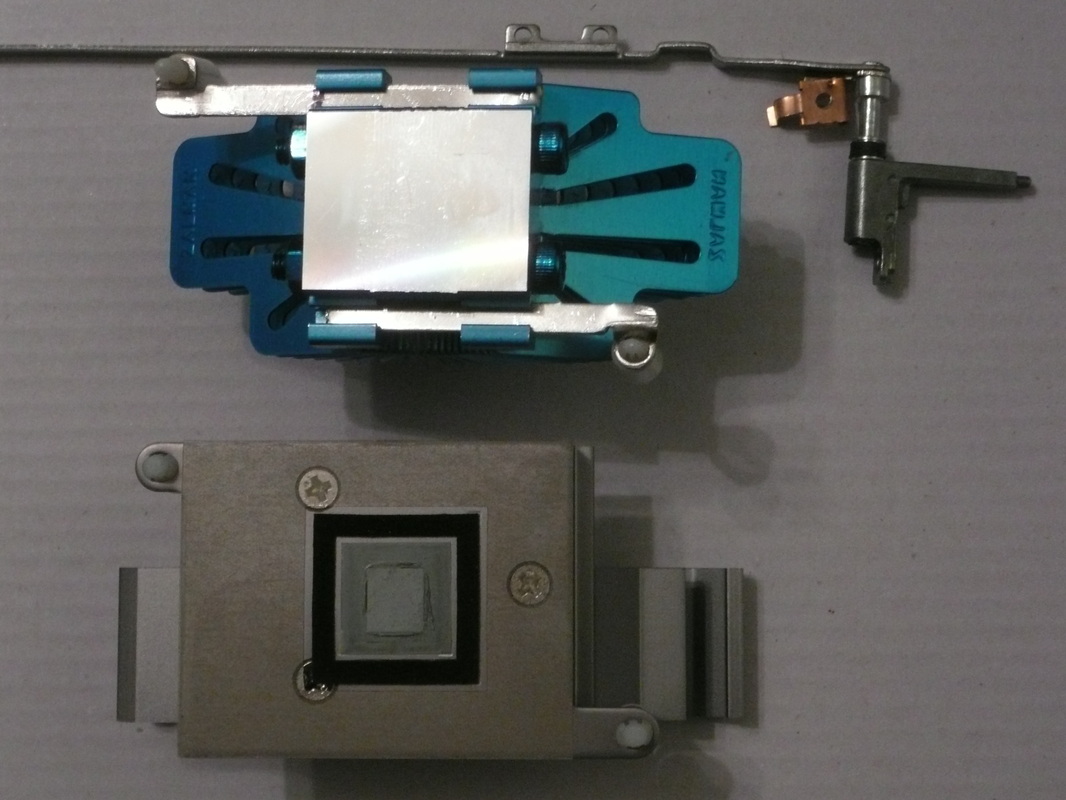
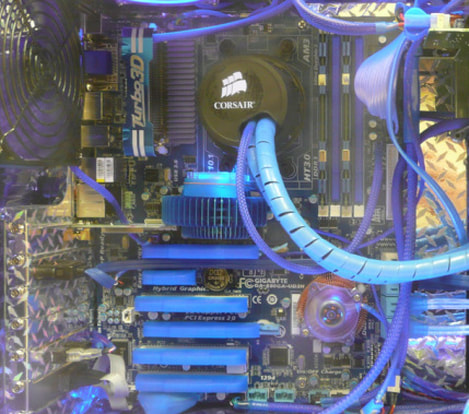
Got a cool blue Zalman heatsink for the northbridge. Had to extend the hold down arms, used a broken hinge assembly from a laptop. Cleaned off the surface of the chip, and installed the new heatsink with some thermal paste.
|
|
I carefully removed the blue Turbo sticker from the old heatsink, and applied it onto the mosfet heatsink. Get rid of that big chunk of silver and make it blue (and looking almost stock)! I even got some UV reactive spiral wrap to put around the cooling tubes.
Adding a fan to the Zalman heatsink was another challenge. I took some of the UV spiral wrap to use for a shroud, straightening it out with my heat gun. Then I used the heat gun to form it around the fan. |
|
Contact cement didn't work too well with the spiral wrap, so I looped some fine copper wire around to hold it in place. The shroud was trimmed to match the contour of the heatsink, and more wire was used to loop around the fins to hold the fan in place. You really have to look close to see the wire.
On the other hand, the southbridge heatsink that I had, even with a 40mm blue LED fan on it, still looked out of place. All that copper.
Also, you might notice that replacing the black sleeve on the Corsair cooler with blue improves the look. Replacing the black fan connectors with blue ones may be harder to notice unless you look up close to where they connect to the motherboard.
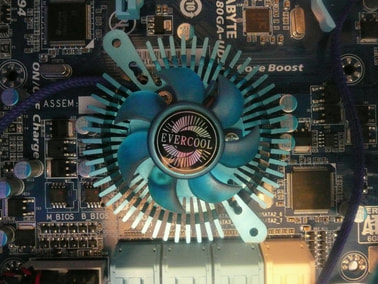
This Evercool VGA fan is almost too big for the southbridge! I had to grind away some of the underside of the fins to clear the capacitors and drill new mounting holes. Also had to grind down the mount where it contacts the SATA ports.
|
I cut out a cardboard insulator, and a shim out of an old heatsink. This raises the new heatsink above some other components.
|

|
Cleaned the southbridge and applied a small amount of thermal compound. Carefully placed the shim, and applied some more thermal compound to the top of the shim. Mount the heatsink and reinstall the motherboard.
Finished result! I like the results, even if it's bigger than it needs to be. Sometimes, isn't bigger better?! |
One problem I now notice- I should have mounted the northbridge fan to pull air upwards, not to blow down through the fins!
