Building my first (and second) bicycle wheel
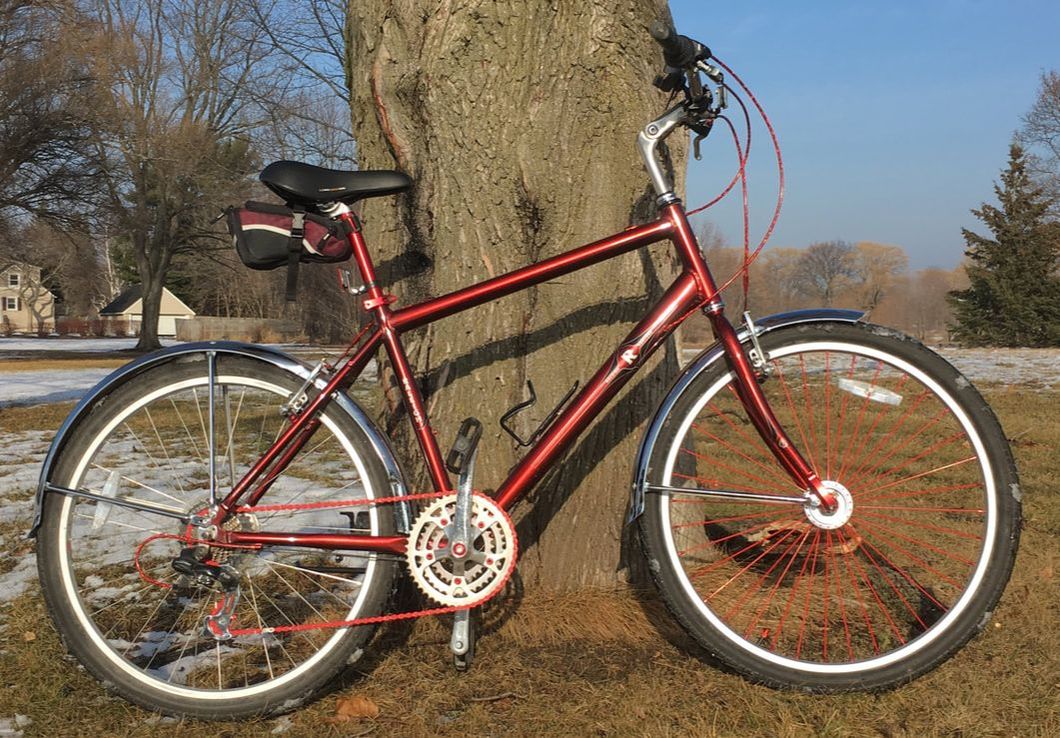
Way back in junior high, I got a 26" Raleigh Superbe 3 speed bike. (Could this be why I got another Raleigh?) What made this bike special for me was the front Sturmey Archer Dynohub. Anytime the bike moved the hub generated power for the headlight and taillight. I had a bottle-generator on my older bike, where you press the lever and it presses against the tire. But it made noise and added drag on the wheel. The dynohub was quiet and didn't slow down the ride.
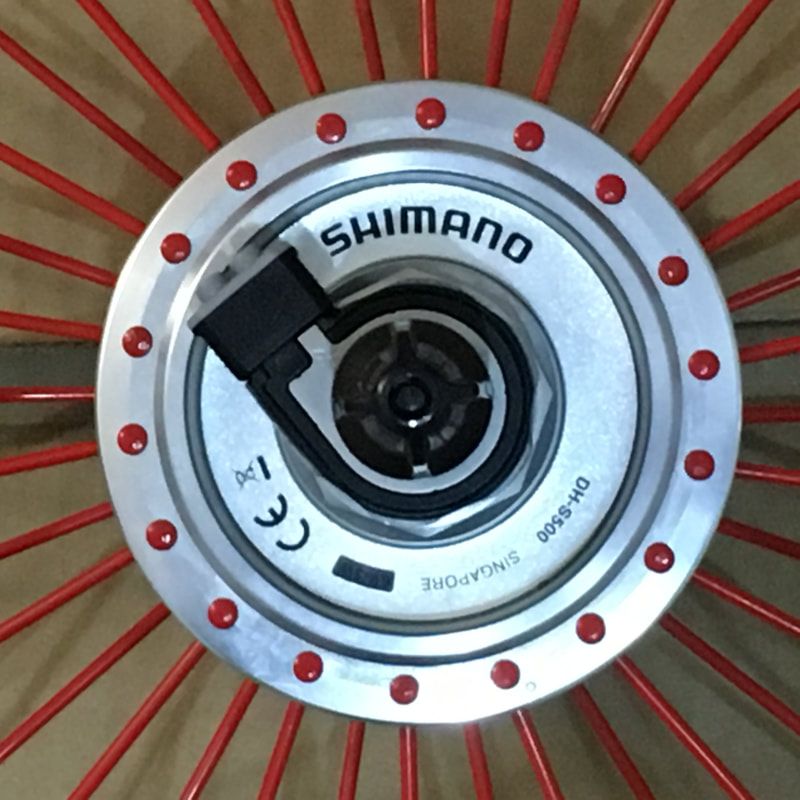
Riding with my GPS and now my iPhone, I keep thinking back to that as the battery runs low during my ride. Browsing the web, I noticed one vendor offered a Shimano Alfine dynamo hub along with a box that will convert the 6 volt AC to 5V DC to a USB plug. How convenient! And it's available with a quick release axle so that I can continue to use my skewer.
To use a new hub, that means I'll either have to buy a new rim, or rebuild my existing rim during the winter. Did my research mostly on Sheldon Brown's wonderful website. He has a great page on wheelbuilding that goes through all the details. Red spokes and nipples to continue the theme! How about a red rim? Not yet, too expensive. So I will need a 36 hole hub to match my rim. I also decided to use radial lacing, where the spokes go direct from the hub to the wheel instead of crossing one or more spokes on the way.
|
Once I had the new hub, I could take measurements of the new hub and and my rim and calculate the length my spokes will need to be. There are lots of spoke calculators on line, and Sheldon has several links. But I took the easy (lazy?) way out and made some direct measurements. First I measured from my existing hub to the rim. From the outer side of the spoke-hole to the rim. Then I measured the spoke hole diameter of my existing hub, again from the outer edges of the holes. Then I took the same measurement on the new hub. Took the difference and divided by two. That is how much shorter the new spokes will need to be.
With radial lacing, it's straightforward geometry. If I used another pattern I would have needed to use a calculator. You can see on my hub the spokes are longer than what a radial spoke would need to be, going further along the hub. |

|
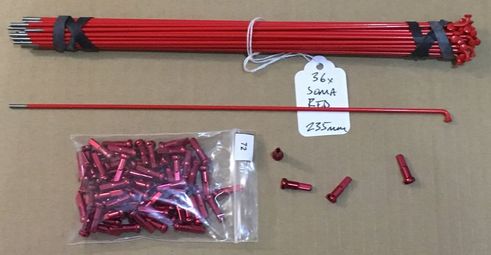
After searching on the auction site, I put in an order for red spokes from Yojimbo's Garage. Also ordered 72 red nipples from another vendor, so I should have enough for respoking my rear wheel as well.
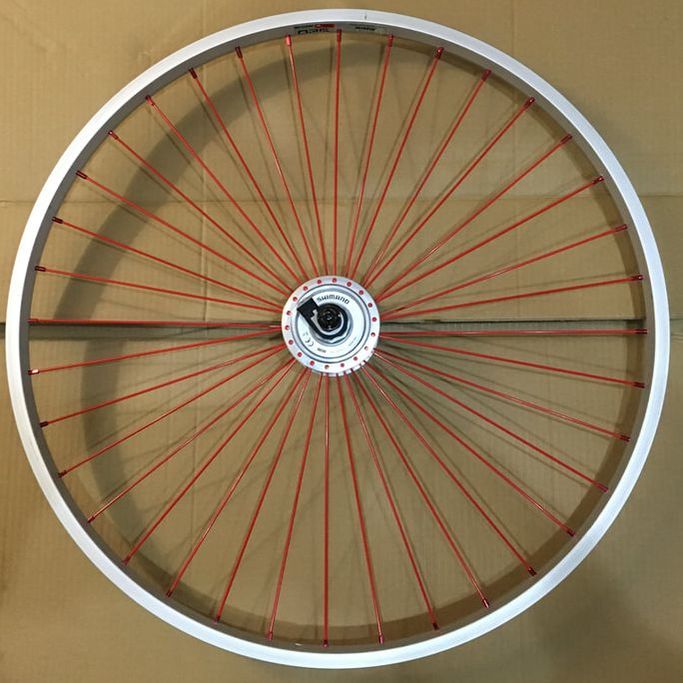
Once the parts were in, started by disassembling my wheel. I installed half of the spokes into one side of the hub. Then starting by the valve stem hole, made sure to insert my first spoke into the hole that was offset toward the side of my spokes. Threaded a new nipple on until the threads were just covered. Picked up the next spoke, put it into the second hole from the first spoke. Kept repeating and soon half of the wheel was done. Easier to watch in a video than to explain it!
Then I turned it over and finished the other side. Soon it was done. With my bike upside down, I mounted the new wheel on the fork to true it. Using the valve stem hole as a staring point, I tightened each spoke by one turn. Once the nipples were seated in the rim, I tightened by half a turn for a couple times. Then I noticed that one side of the axle was offset more than the other. So I compensated by dishing the wheel a bit. For the spokes on the longer side of the axle, I tightened only those by another half revolution. (Or was it twice for a full revolution?) Having read Sheldon's guide (and watching a video or two) truing went well.
|
|
Put on the rim tape, mounted the tube and tire. I applied pressure all along the rim, it was nice and firm and no sounds to indicate problems with tension or flange seating.
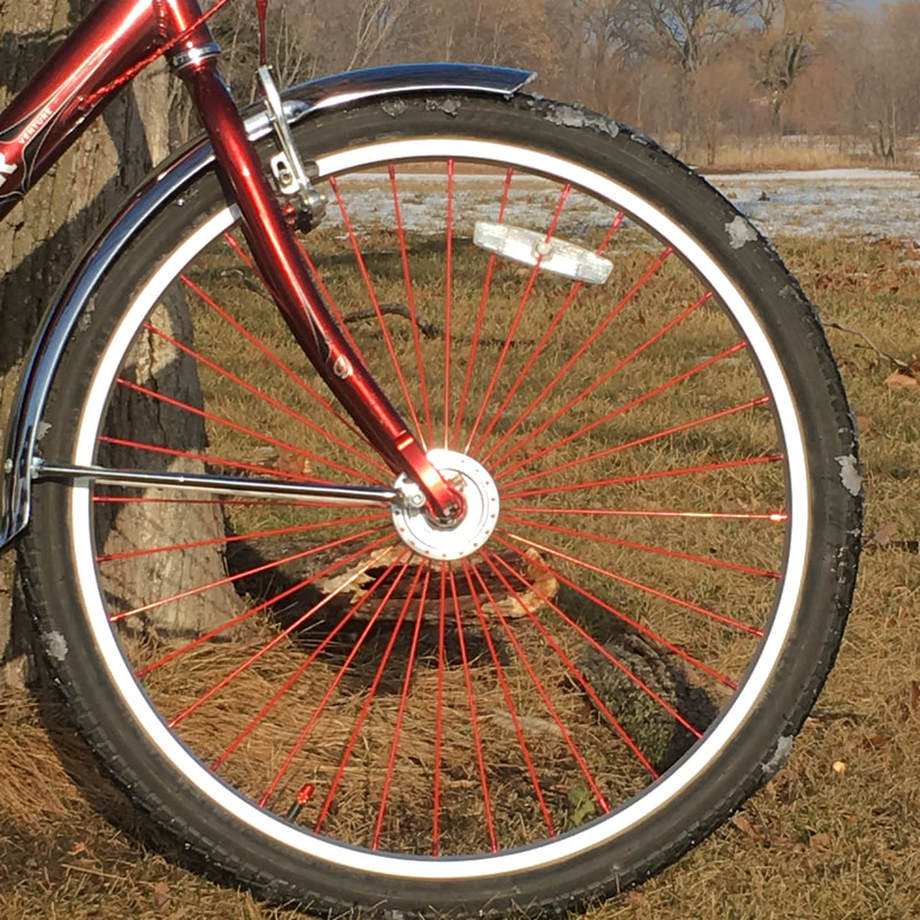
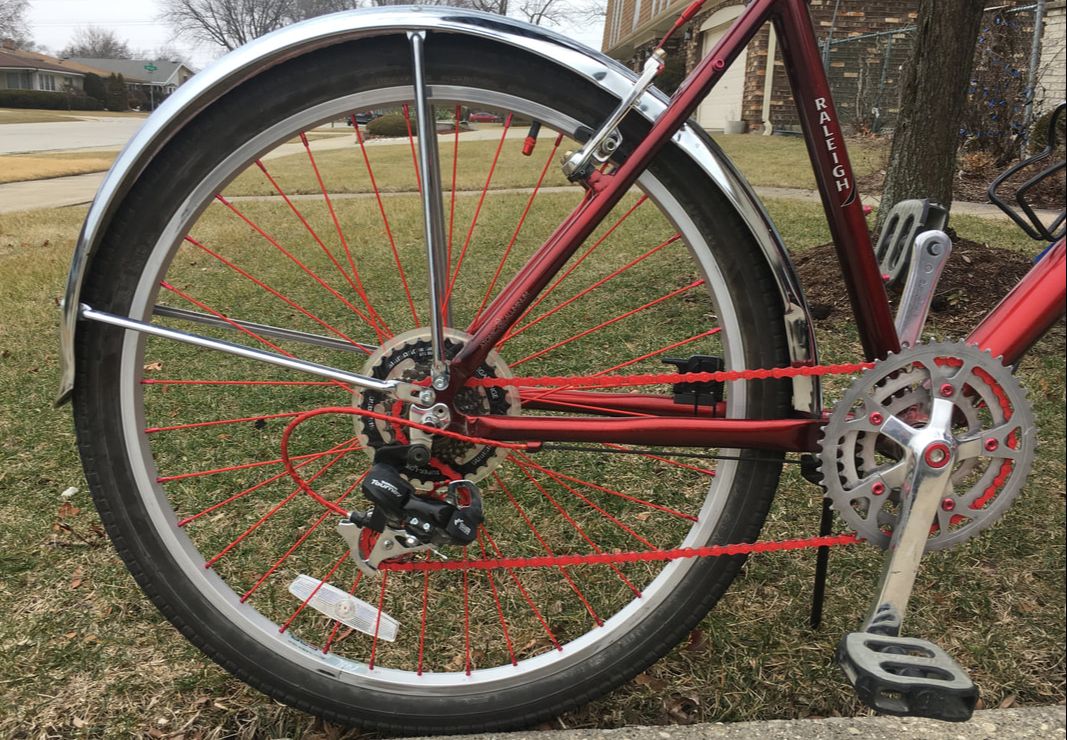
The next day it was fairly warm for winter, so I took the bike out for a short ride. It rode nicely, but more importantly I think it looks great! I'll keep an eye on the flange, sometimes it can break with radial lacing. But since the hub is larger and the spoke holes are further away from the edge, I'm hoping to have no problems with this setup.
The next day it was fairly warm for winter, so I took the bike out for a short ride. It rode nicely, but more importantly I think it looks great! I'll keep an eye on the flange, sometimes it can break with radial lacing. But since the hub is larger and the spoke holes are further away from the edge, I'm hoping to have no problems with this setup.
Now that the front wheel is done, I'm ready to do the back. I'm planning on doing this one side at a time, starting with the drive side. I'll just replace those spokes using the same pattern. I'll see how the truing goes with that. My theory is that if the wheel is still true when I start, I should only have to tighten the new spokes properly to get it back to being true. We'll see how that goes! If I can't get it rebuilt correctly, I can always take it to my local bike shop to have it properly aligned for a decent price.
I measured the existing spokes the best I could. Then I measured for the shorter radial spokes. Placed another order with Yojimbo's Garage.
I measured the existing spokes the best I could. Then I measured for the shorter radial spokes. Placed another order with Yojimbo's Garage.

Well, the rear wheel is done, but it didn't go as planned! So much for my theory!
At first, I thought I'd respoke just the drive side. But that would involve bending the new spokes too much and possibly scratching them. So I tried to redo the other radial side. Similar issues, so I decided to disassemble the whole wheel and build it from scratch.
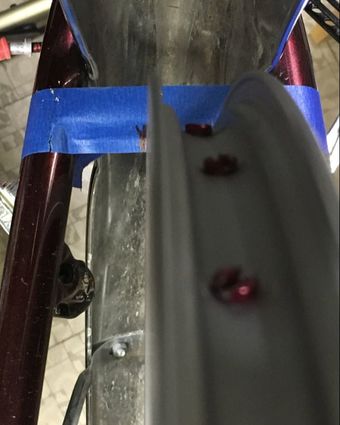
I borrowed my brother's bike stand and had the frame clamped with the wheels up. Before proceeding, I removed the tire, tube and rim tape. I remounted the wheel, and verified that it was still true. Using one of Sheldon's tips, I placed a strip of masking tape across the frame just off of the rim. I then marked where outer edges of the rim were. This way I have reference marks for aligning my wheel and having it dished properly.
After removing all the spokes, I was a bit dismayed that my measurment was off a bit. Comparing the spokes I should have ordered them a few millimeters longer. But since my new nipples are longer, I'm hoping that this error is inconsequential!
At first, I thought I'd respoke just the drive side. But that would involve bending the new spokes too much and possibly scratching them. So I tried to redo the other radial side. Similar issues, so I decided to disassemble the whole wheel and build it from scratch.
I borrowed my brother's bike stand and had the frame clamped with the wheels up. Before proceeding, I removed the tire, tube and rim tape. I remounted the wheel, and verified that it was still true. Using one of Sheldon's tips, I placed a strip of masking tape across the frame just off of the rim. I then marked where outer edges of the rim were. This way I have reference marks for aligning my wheel and having it dished properly.
After removing all the spokes, I was a bit dismayed that my measurment was off a bit. Comparing the spokes I should have ordered them a few millimeters longer. But since my new nipples are longer, I'm hoping that this error is inconsequential!
First I spoked the easier radial non-drive side. (In hind sight, I should have started from the other side with the cross 3 pattern.) Then on the other side, trying to figure out which hub hole to start the first key spoke by the valve hole was a challenge. With the first 9 trailing spokes installed, I then tried to locate the first leading spoke. I soon realized that I should have started one hole further down on the hub. So I removed and repositioned each of the trailing spokes. Now I was able to install the remaining leading spokes.
But here is where the short spokes caused an issue. I had to tighten nearby spokes and loosen spokes on the opposite end to finally install the last spokes.
But here is where the short spokes caused an issue. I had to tighten nearby spokes and loosen spokes on the opposite end to finally install the last spokes.
I did some initial tensioning of all the spokes, and then mounted the wheel on the bike. It was very wobbly, and difficult to true.
To try and fix this, I loosened each spoke, and then just snugged it to the rim. Then I tightened each by a revolution. But once more the wheel was way out of alignment.
So I loosened all of the spokes again. One by one, I removed the nipple, and then reattached it and tightened by 5 revolutions. (I also added a bit more grease, but only on the non-radial spoke threads.) Now the wheel was more true. Next I tightened each spoke by one turn.
Now, since the wheel had to be pulled towards the drive side, I worked only those spokes and left the radial spokes as they were. As the wheel gets pulled towards the gears, the radial spokes would receive more tension. I kept tightening each drive spoke by one turn. Once the tension became high, I adjusted the spokes by 1/2 a turn. As the wheel was reached the alignment marks, I did most of the alignment adjustments by tightening the drive spokes.
I couldn't get a perfect alignment, but for me it's good enough! I finished with only about a millimeter of wobble on the wheel.
And yes, both of my measurements were off and short. The threads on the radial spokes are showing. I'll have to see how it performs. I know that the drive side spokes are properly tensioned. In this configuration, the radial spokes have less tension- I'll just have to see once I ride it if I've given them enough tension!
click to enlarge
After a couple rides, both wheels seem to be performing properly. No flexing, no odd noises. I'll have to keep an eye on the flanges.
I am quite pleased with my attempt! Now on to finish installing my front dérailleur.
I am quite pleased with my attempt! Now on to finish installing my front dérailleur.
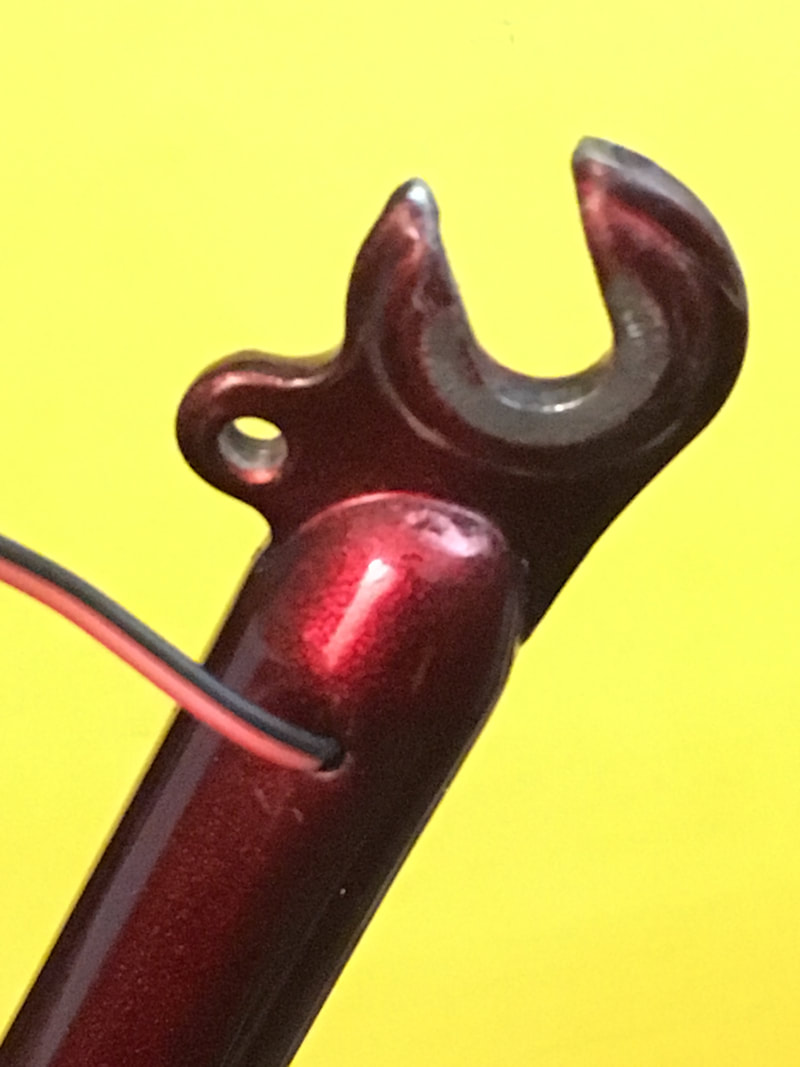
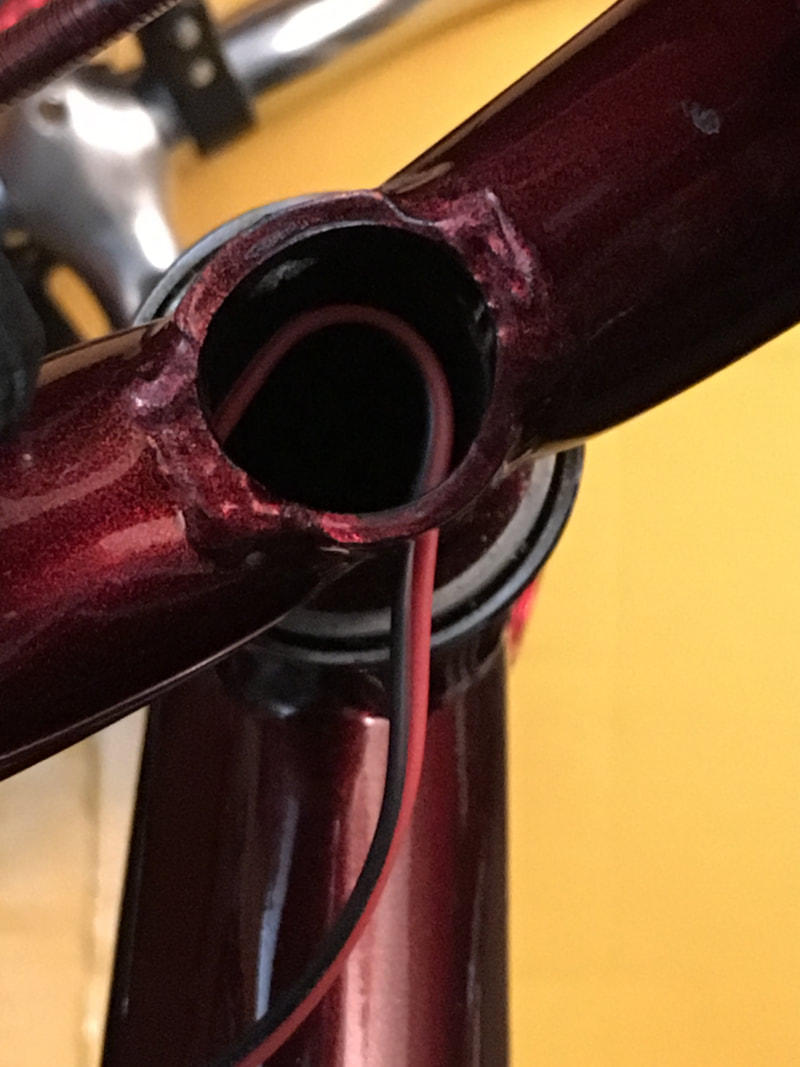
I still have to wire up the front wheel dynamo and mount the USB charger. I'd like to run the wires up through the front fork, I need to drill out the drain hole a bit more. I'll do that when I drill the frame for my front dérailleur.
|
|
