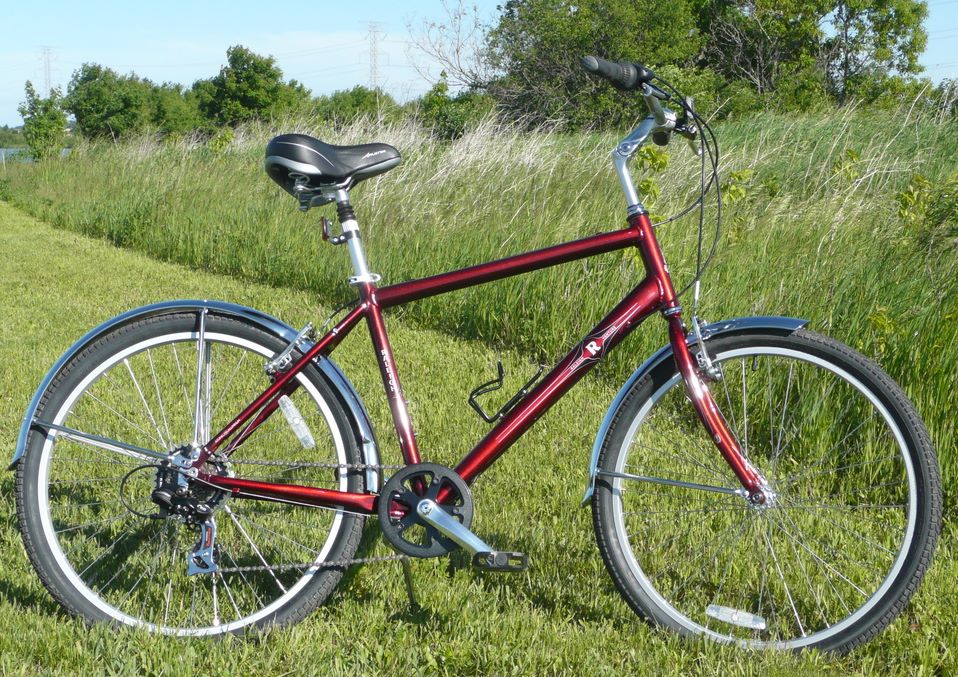
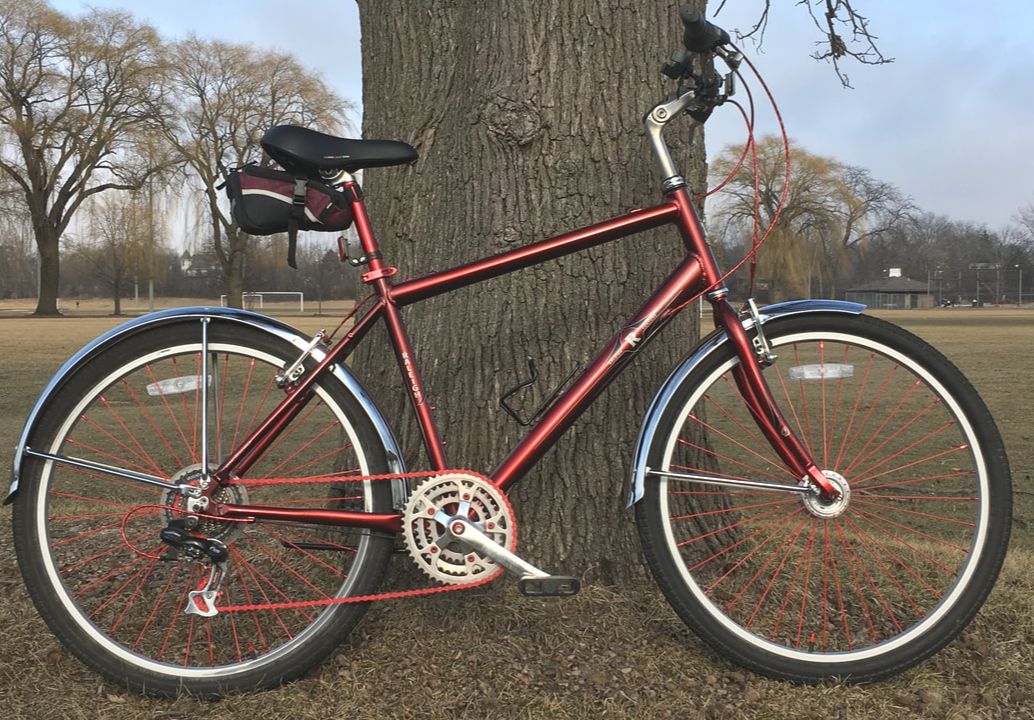
So I got this nice Raleigh Vantage 7-speed. (Thanks again, Erich and Agathe!) First thing I needed to add were fenders. Biking along the Des Plaines River Trail and coming across a flooded area is why I put these on. Don't want to have water splashing all over me. Also gives it a nice 'retro' look! (Well, not as 'retro' as the Raleigh fenders I installed later!)
click to enlarge
|
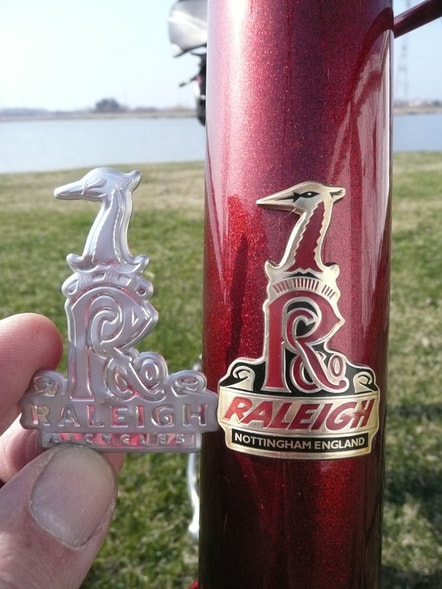
I didn't like the plain silver head badge that came with the bike. So I found a classic colorful one on eBay to replace it with. Used 3M automotive trim tape to apply it.
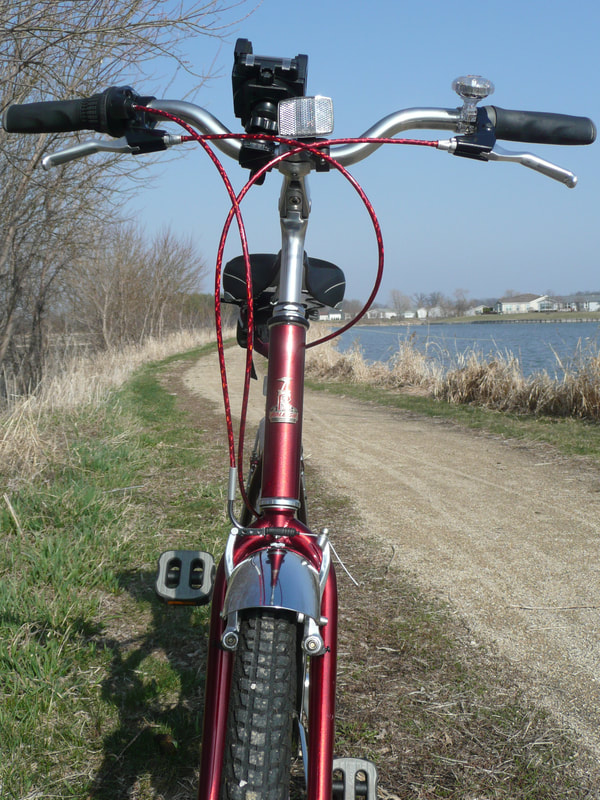
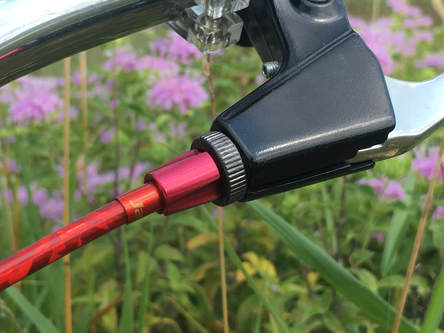
The black cable housings and the bare cable running across the top tube looked out of place. Found some nice red metallic cable housings. And for the brake cable I found a red teflon coated cable that was just meant for my bike. Then I topped it off with these Jagwire ferrules (or end caps) to complete the job. (Oh my, are these no longer available in red?!) 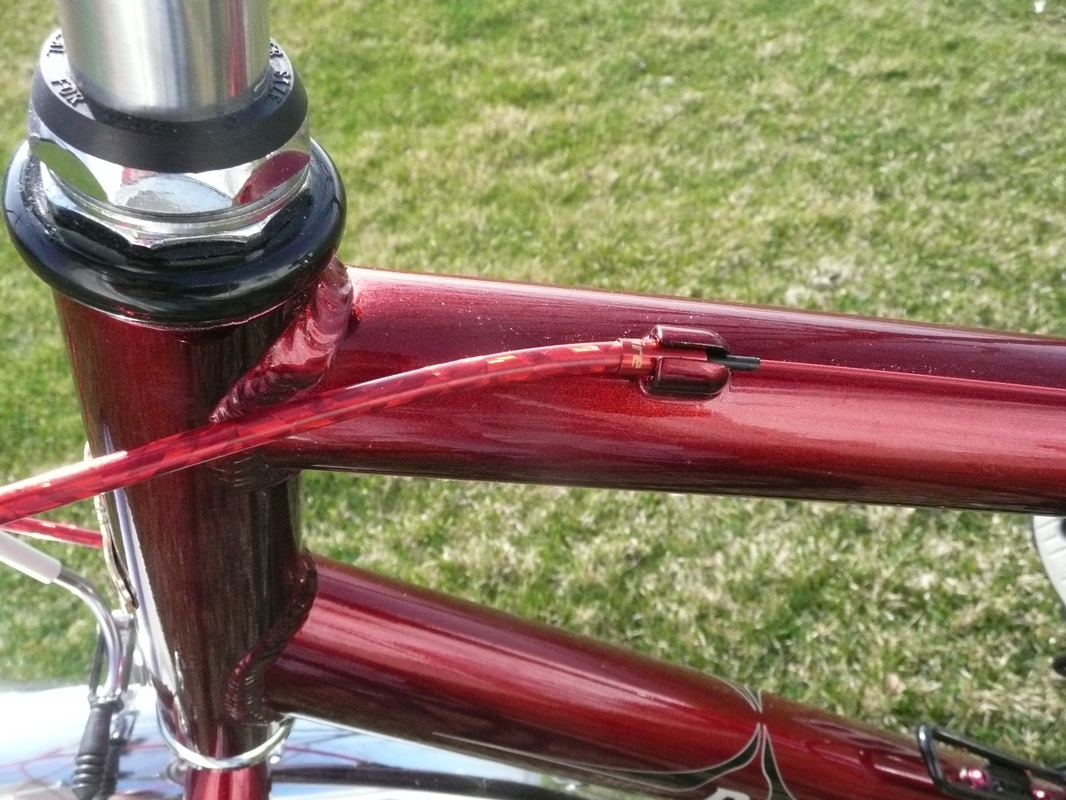
click to enlarge
|
First part completed!
|
Now, why did I get a 7-speed with only the rear derailleur, instead of a 15 or more speed? Any way to add a front shift?
Let's see now, the seat post is hydraulic but it really doesn't seem to do much for the bum!
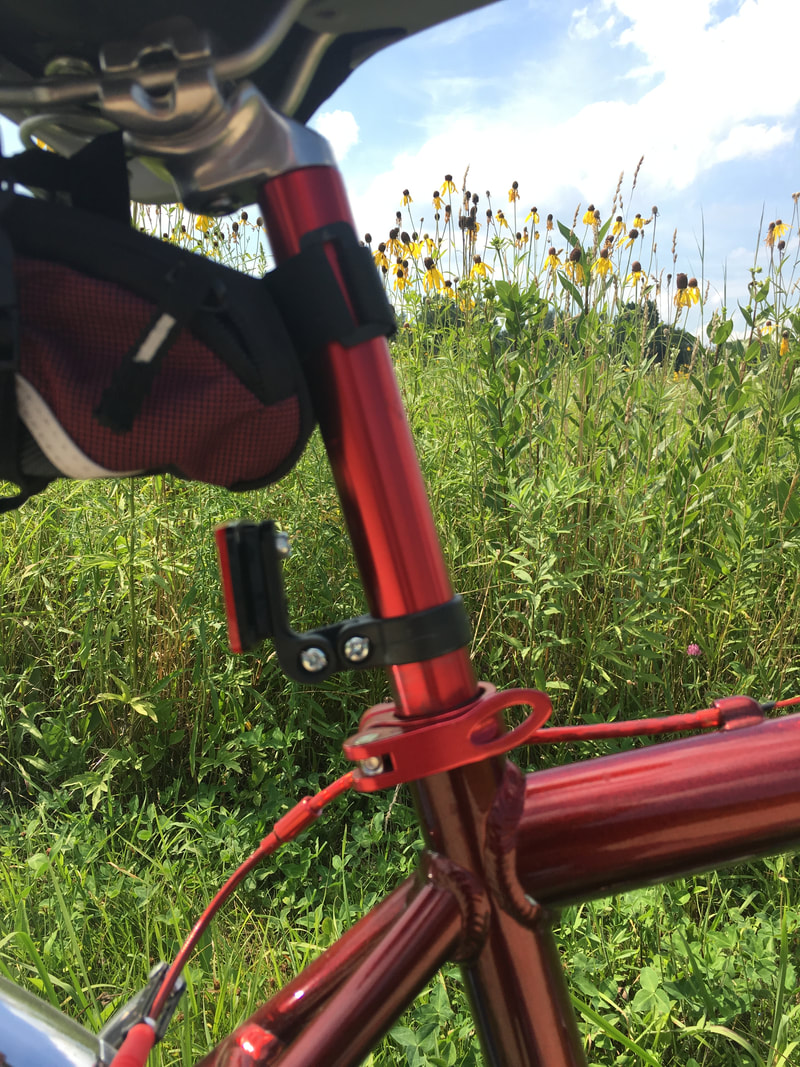
How about replacing it with a regular post, but in red? And replacing the clamp as well? While I'm at it, continue the red theme- axle skewer, barrel adjusters, brake noodles, even jockey wheels! Red chain? What about a cycling computer to track my rides? You might notice in the pictures below, the addition of a saddle bag. I bought it at a local bike store. It came with an emergency rain poncho, and there's plenty of space for my toolkit, gloves, glasses and whatever. |
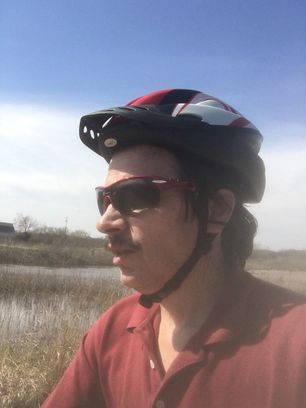
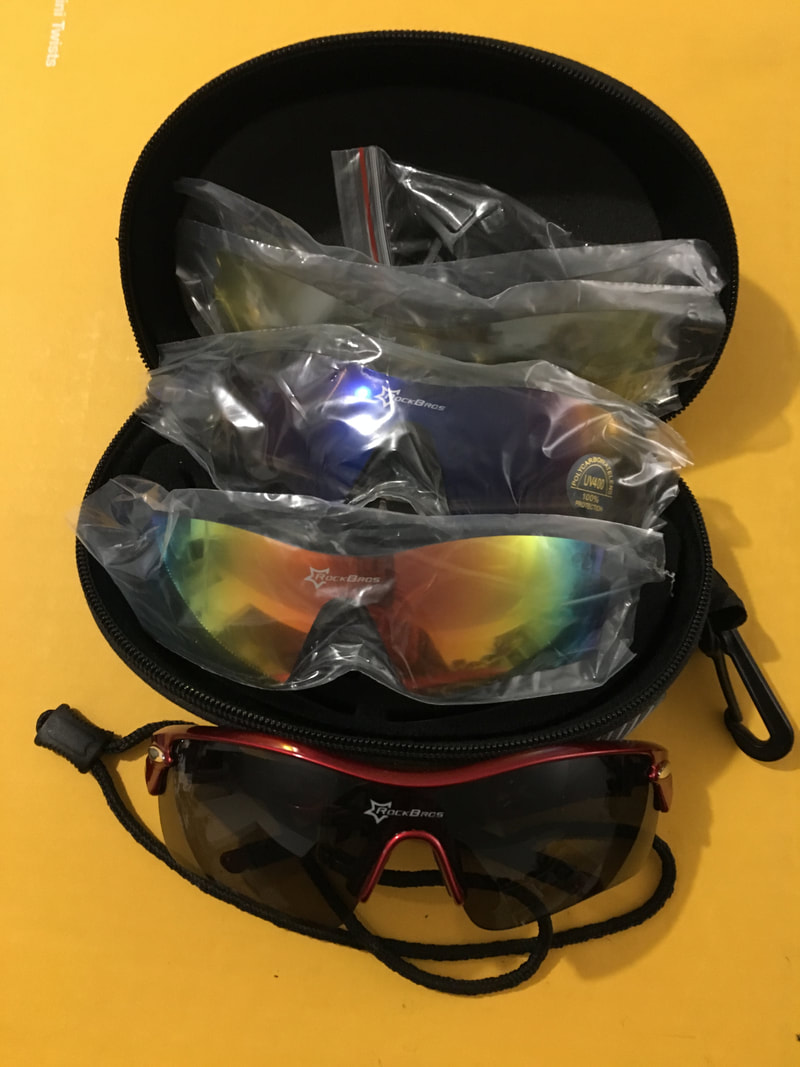
I found these RockBros polarized cycling glasses while browsing online. I like that it has interchangeable lenses (so far have only used the polarized sunglasses) along with the hard case to keep everything together. I kept watching the auction site and finally got them at a really low price as the only bidder. I bought them primarily for the price, not reputation. But now after using them for a couple years they are great! I definitely recommend them! The case and spare lenses stay at home, and there's enough space in my saddle bag to stick the glasses in. |
|
|
Replacing the seat post and clamp was pretty straight forward. Just measure the post for proper diameter and length. I didn't get a specific brand, just something red and reasonably priced on that auction site.
Same with the quick release axle skewer. (I should have bought a pair, the rear is still the original chrome!) Maybe I'll leave it. On the front, the chrome stood out. Not so much in the back! 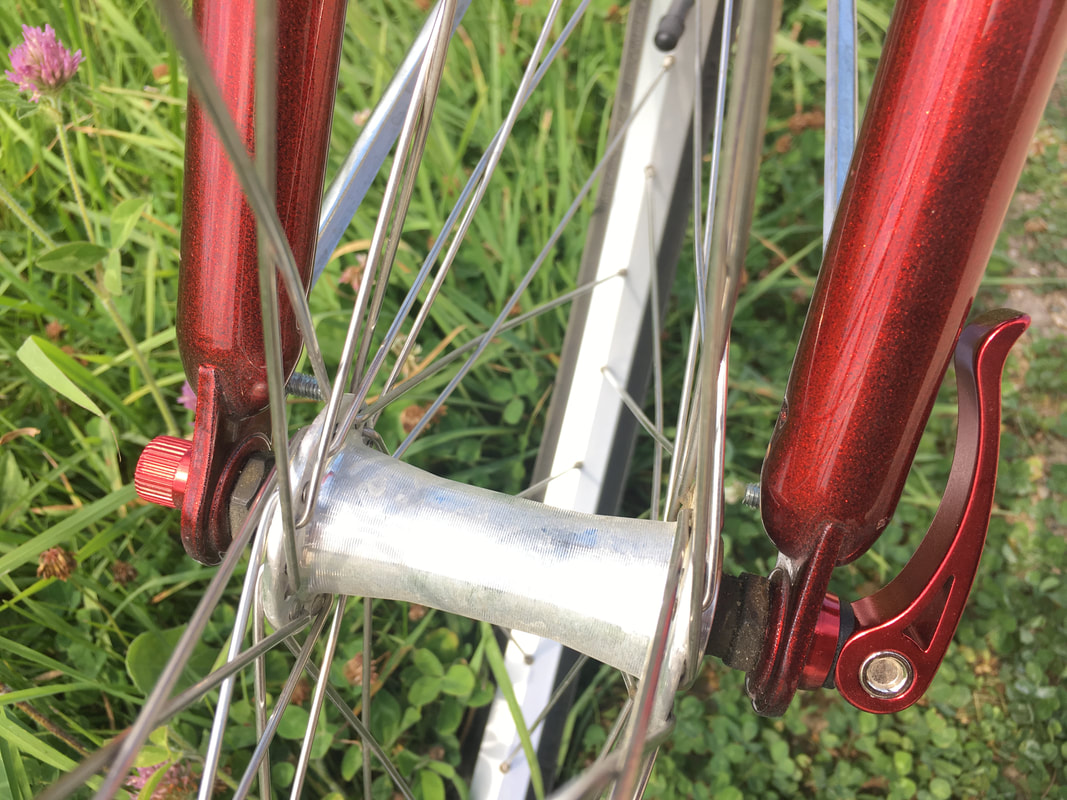
|
|
|
For the brake lever adjuster, I went with this Dia-Compe M7 in anodized red. Others didn't look as good, and the price at Pork Chop BMX was pretty decent!
|
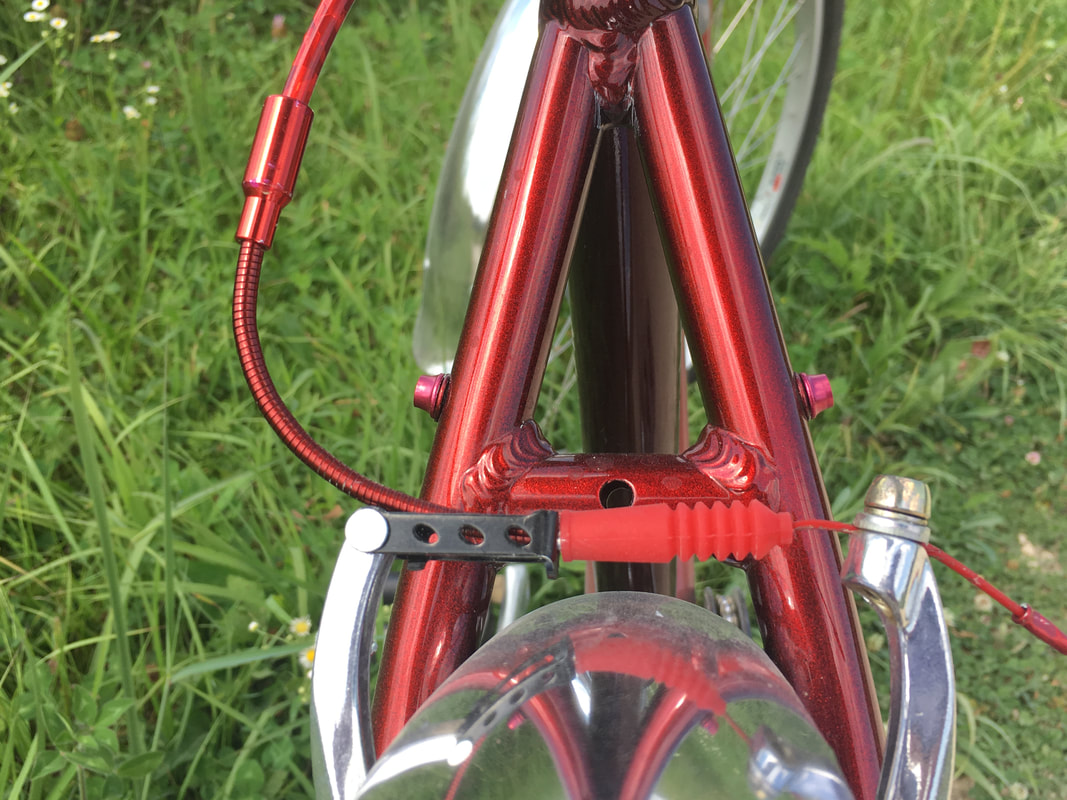
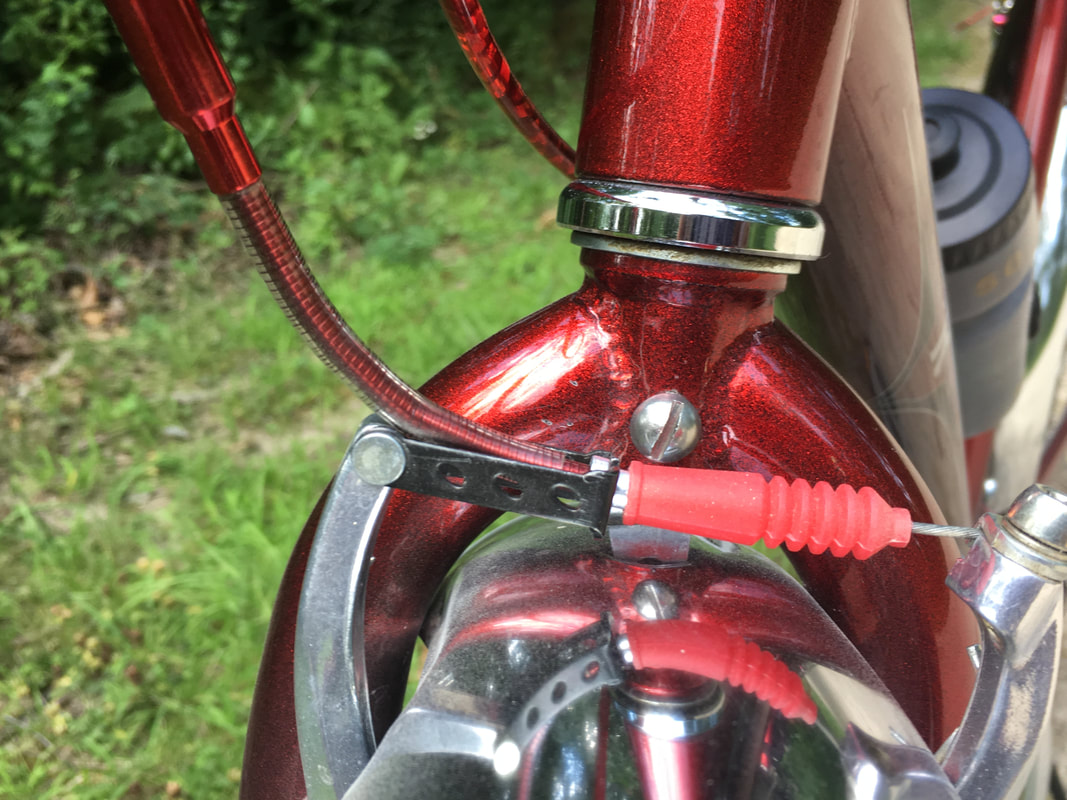
While I was redoing the cables I put on red brake noodles and boots. But before I installed the front, I slid a clear plastic tube over to protect the fender.

|
 click to enlarge
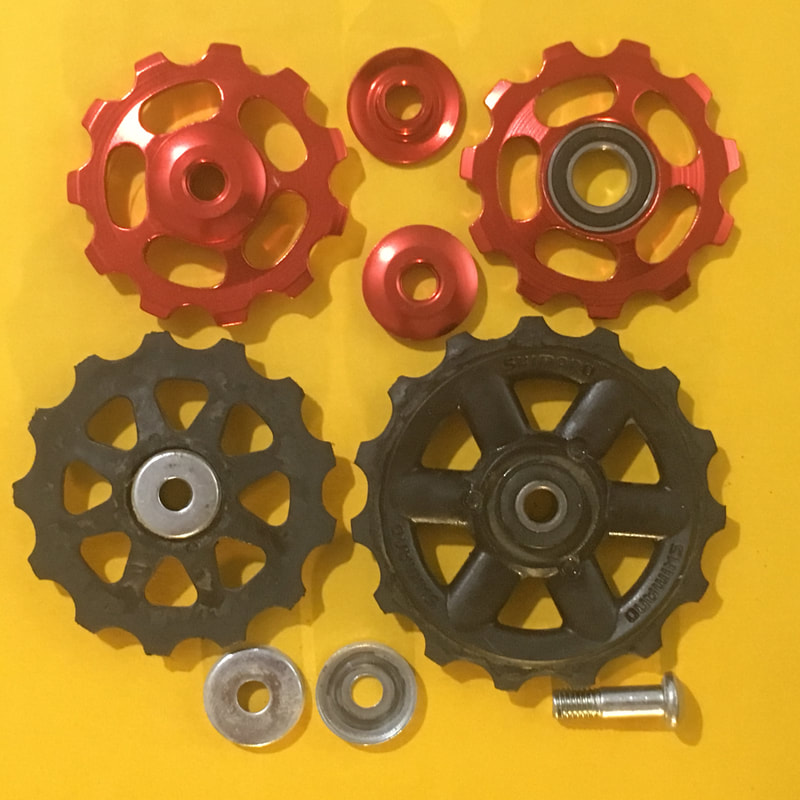
When I received my new jockey gears, I liked the better bearings. But I was worried that the smaller size could mean trouble shifting into low gear. But after proper adjustment of the dérailleur they work just as good as the stock. But in the end, they're hard to notice in the picture below! The red chain ring bolts are easier to spot further down!
Now I need a way to track my ride. At first I was using the GPS from my car. At the time, I had a flip-phone. My brother bought a Garmin several years ago to track his speed and cadence. Now I have an iPhone, and I discovered there are similar less expensive devices that use Bluetooth to link with the phone. There are apps like: Strava, MapMyRide and Wahoo Fitness that can map your ride and record your speed/cadence at the same time! More on this here!
Now I need a way to track my ride. At first I was using the GPS from my car. At the time, I had a flip-phone. My brother bought a Garmin several years ago to track his speed and cadence. Now I have an iPhone, and I discovered there are similar less expensive devices that use Bluetooth to link with the phone. There are apps like: Strava, MapMyRide and Wahoo Fitness that can map your ride and record your speed/cadence at the same time! More on this here!

click to enlarge
Now how about these changes?
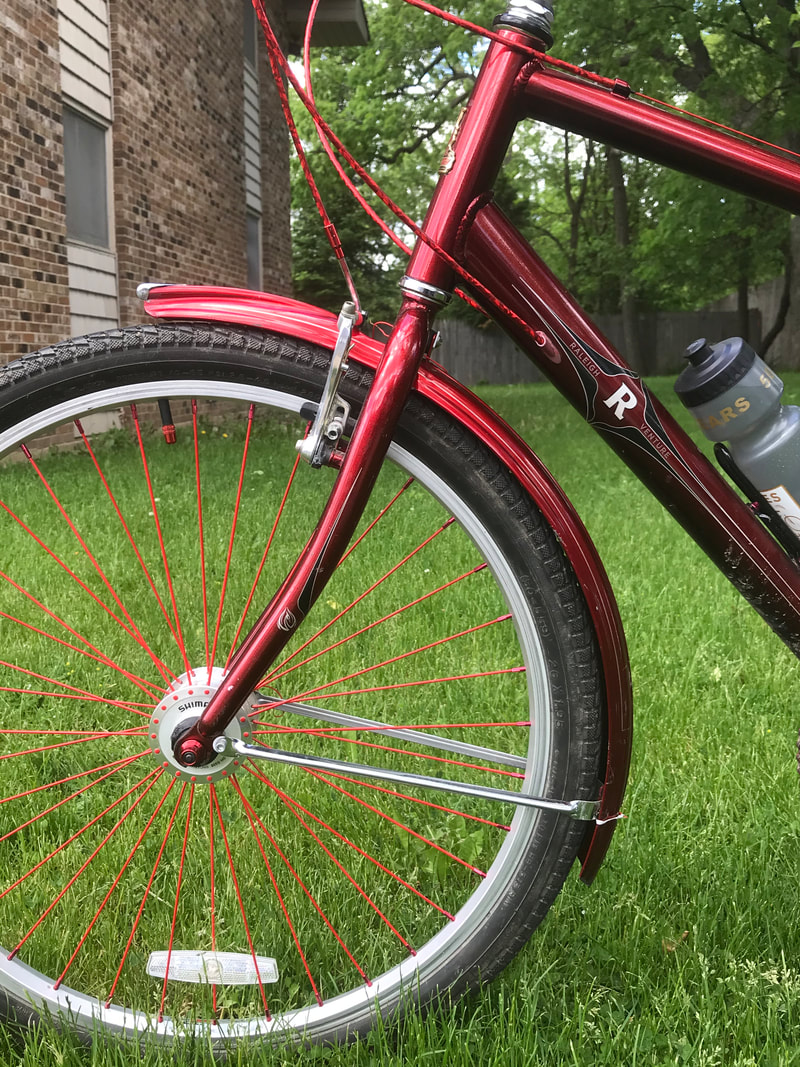
Notice the different crank? Took a bit of doing but I now have a shift in front. Check out this page for the details.
Red chain and red spokes! And how about that front wheel? Radial lacing.
Red chain and red spokes! And how about that front wheel? Radial lacing.
click to enlarge
|
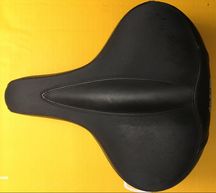
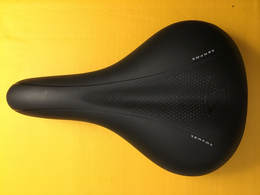
Oh, and it's time to address the 'comfort seat'. Maybe more comfort for my girlfriend, but not too comfortable for my rear on a long ride. So I'm going to try this one I got from my nearby bike shop.
|
|
|
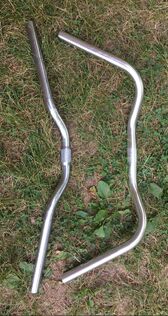
The original handlebar wasn't comfortable for me either. So my bike shop was able to order a more old school style handlebar. This was more like the style I remember from my old Raleigh! I also started browsing ebay for Raleigh fenders. The chrome fenders were a bit out of place for me, and the alignment of the rear fender was a bit goofy. |

|
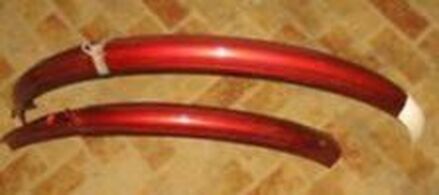
I found a set in red for a decent price. I was pleased with their condition. The old 60's or 70's red is a bit lighter than my new frame, but close enough for my taste.
The white on the rear fender was in rough shape, but I can mask and respray it. There were several chips in the paint, so I took the fender to the auto parts store and found a close match. That odd bit on the top of the rear fender, that's a mounting clip that is crimped on. I had to remove it since it's at the wrong position for my bike. I painted that piece to blend in. I also had to find different fender braces or stays. I was able to find some that matched the size and shape of my fenders, and an appropriate length for my bike. To help prevent rust, I glued a piece of inner tube with contact cement to the end of the braces to cushion against the fender. I also painted the screw head attaching the fender. |
|
Deer crossing ahead!
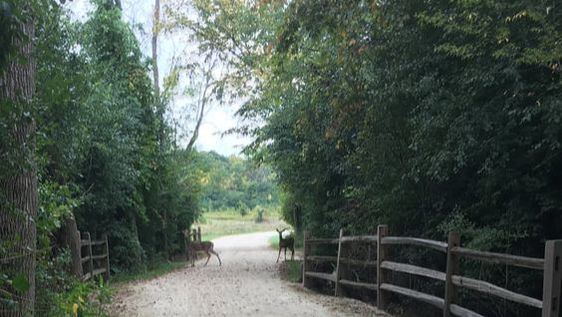
Besides coming across deer and other woodland creatures, one fall afternoon I encountered a pair of sandhill cranes along the trail! Rounding the bend, they were just a yard or two off the trail in some tall grass. At first I thought "what are emus doing here!" As I rode past I realized they were most likely sandhills. I suppose they were probably thinking "why's that dude disturbing our foraging?"
