Standard sleeving - 1st attempt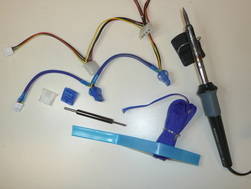
Bought UV reactive sleeving, heat shrink and molex/berg connectors. Using some cables from broken power supplies cut to an appropriate length, I removed the connectors in order to slide the sleeve in place. And a short piece of heat shrink at the ends of the sleeve to hold it in place.
|
Well, the result is ok, the sleeve is too big and the braiding is too loose. You can see the wires and colors through the sleeve.
|
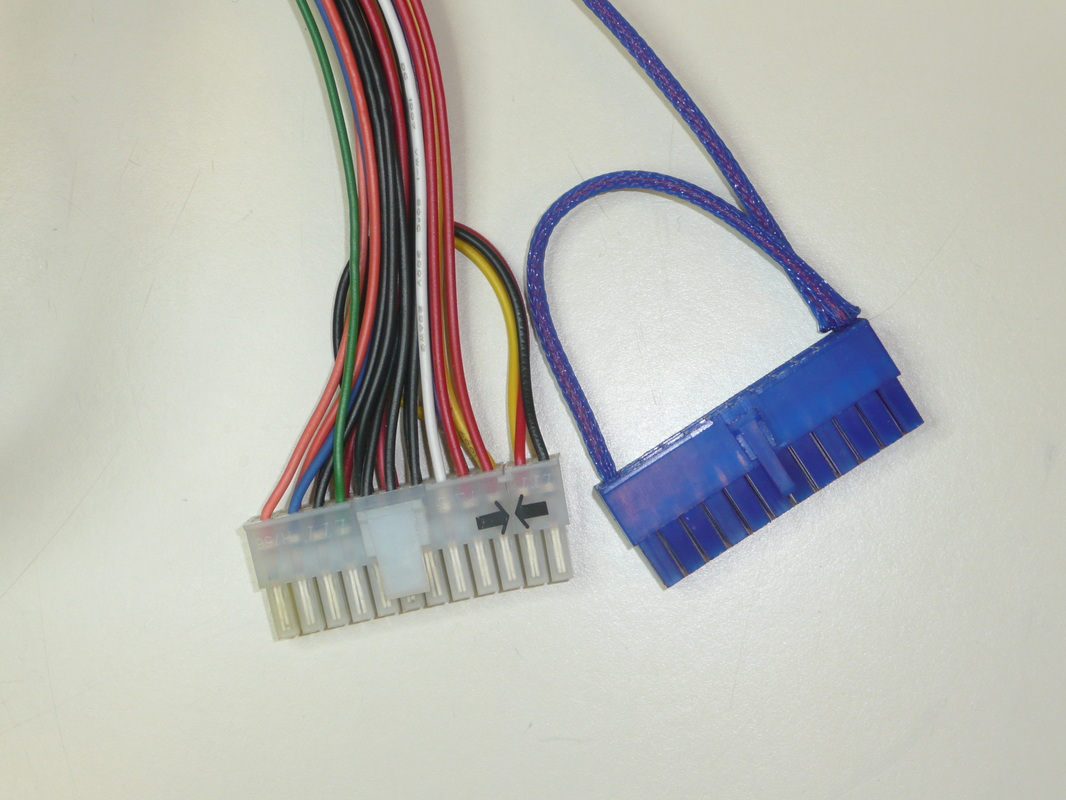
Sleeving - version 2
If you get sleeving from different manufacturers, the colors can be different. I decided to standardize and use Mod Smart's high density Kobra sleeving in UV blue. It has a nice tight weave that hides the wire colors.
The pins are now inserted into the connectors, and the sleeve gets pushed into the connector as well. Now I put a larger sleeve over all of the wires and secure them all with a short piece of heat shrink.
|
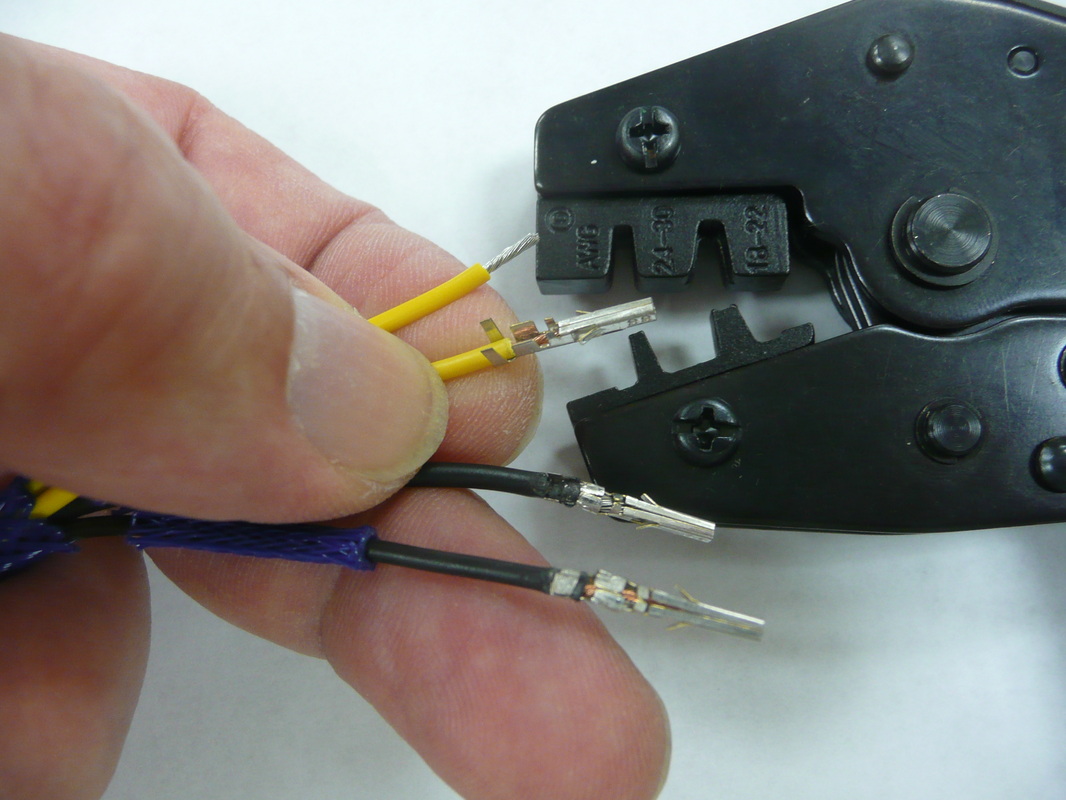
Here is what I did later for my auxiliary motherboard power cable.
I bought a crimping tool and ATX connector pins. I'm crimping one end of my cable, and note that I'm putting a 1" sleeve on each individual wire. 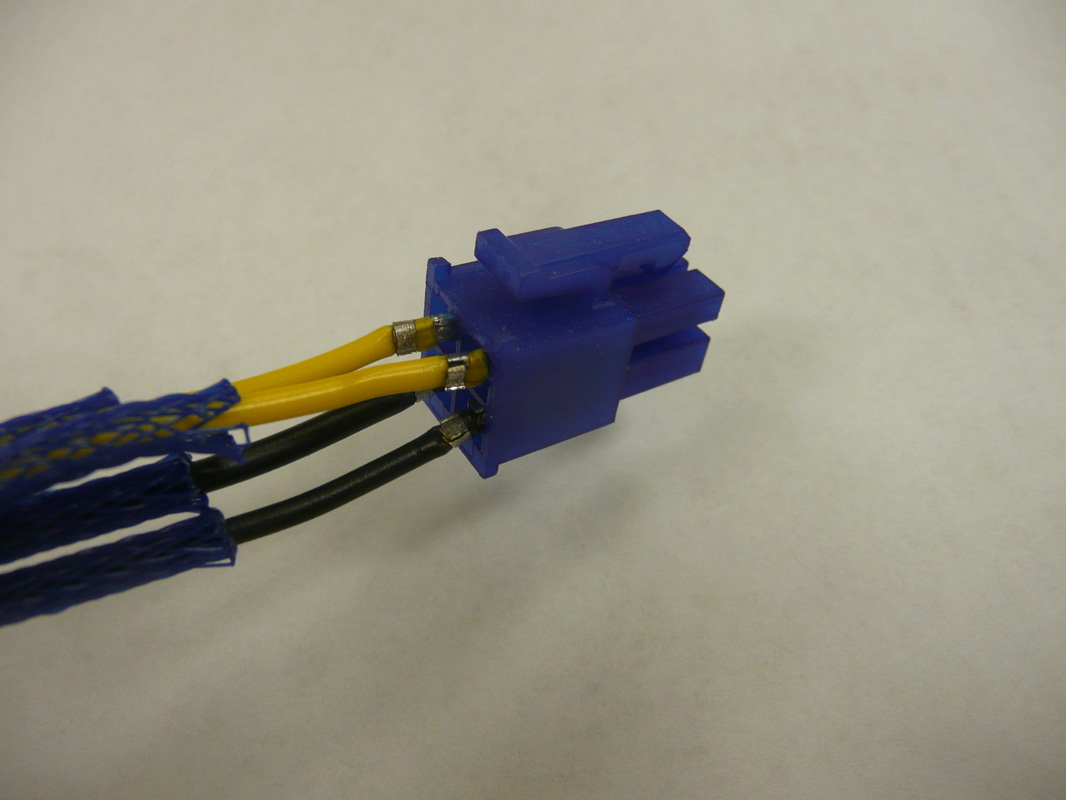
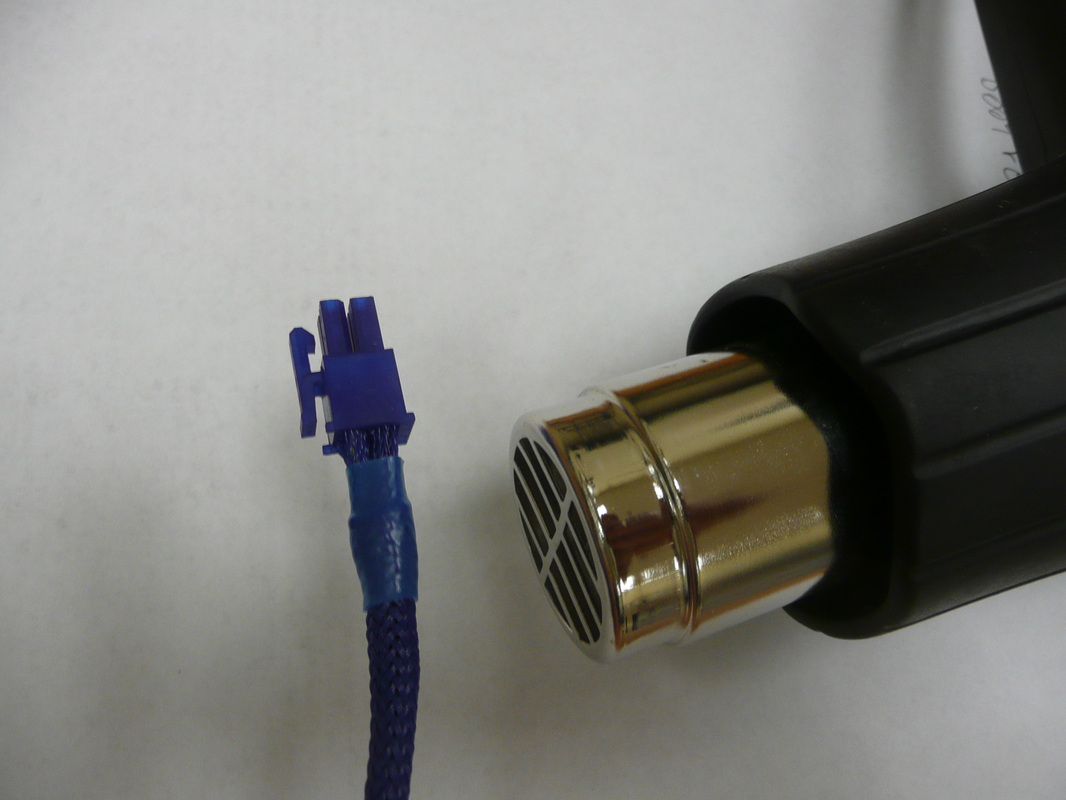
A heat gun works much better for me than a lighter on the heat shrink!
|
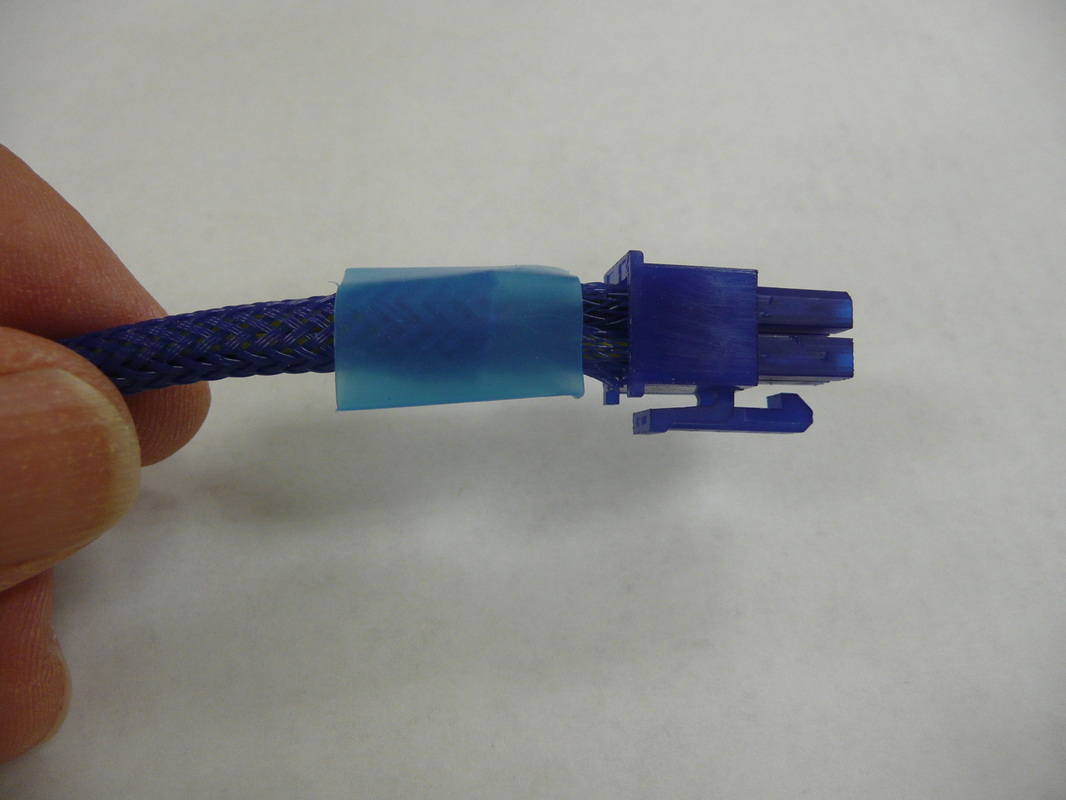
And here is the finished result.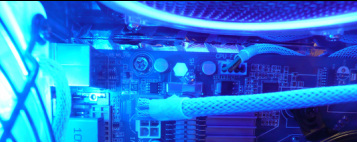
|
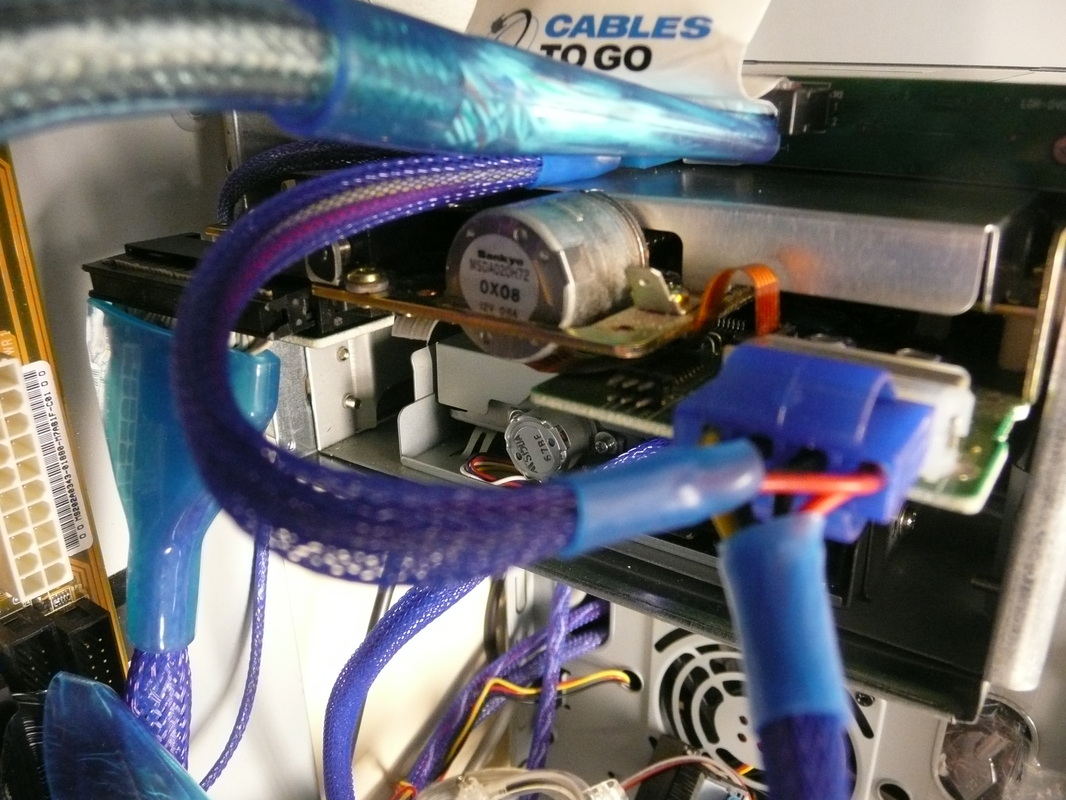
Currently working on the ATX main power, but progress is a bit slow.
|
Making my own rounded floppy cable
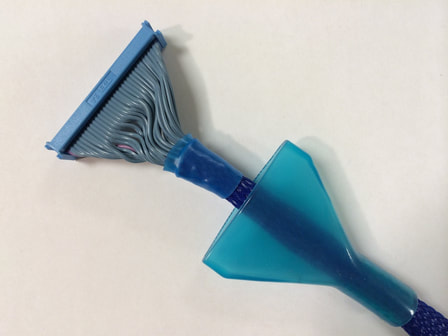
I seriously doubt that anybody will be rounding their own IDE or floppy cables today, since they are disappearing from systems. But there are a lot of how-tos on the web and it's really quite simple. The hardest part is removing and reattaching the 34 or 40 pin connector from the cable (which is not a requirement). I had an old cable with blue connectors, but the cable was too short. I had another cable that was too long which is what I used. I also had a factory made UV reactive floppy cable which had nice blue boots that I wanted to use on my new cable.
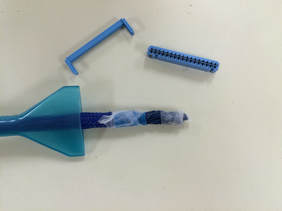
I carefully removed all of the connectors. Then I laid out the cable inside the case to find the proper length needed, and trimmed the cable to length with scissors. In the middle of the cable, I carefully cut and separated two wires from the cable, and leaving the last two inches of the cable intact. I did the same or every pair of wires. I measured out a length of braid so that it would reach inside of each boot.
I carefully removed all of the connectors. Then I laid out the cable inside the case to find the proper length needed, and trimmed the cable to length with scissors. In the middle of the cable, I carefully cut and separated two wires from the cable, and leaving the last two inches of the cable intact. I did the same or every pair of wires. I measured out a length of braid so that it would reach inside of each boot.
|
I attached one connector to the cable, making sure that the cable stripe went to pin 1 on the connector, and orienting it so the cable would continue down from the floppy drive. I finished separating the wires up to about an 1/8th of an inch from the connector.
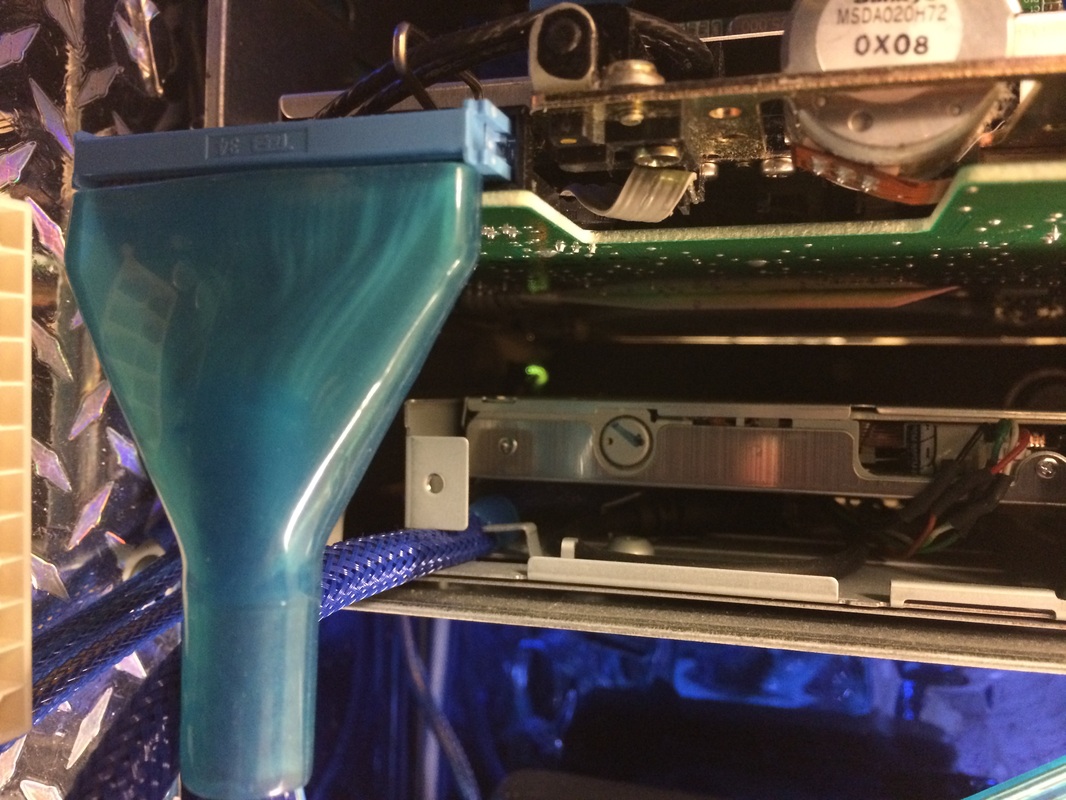
Next I rounded the free end of the cable and inserted it into the sleeve. Once the cable was through the sleeve, I slid two 1" pieces of heat shrink over the braid along with the boots. With everything on the cable in proper orientation, I could straighten the cable end and attach my second connector- again making sure that the stripe lined up with pin 1. Now I moved the boots to the middle of the braid and stretched and centered the braid on my cable. Slide the heat shrink in place and shrink it. If you want it to fit right, you have to make it yourself! |

|
|

|
