This is a fairly common problem. The door becomes hard to open, or there is a grinding noise as it opens and closes. In extreme cases, the door can start to scratch the body! Parts and procedures are for my 2nd Generation 99-04 Odyssey. I suspect the procedure should be similar for 3rd gen, maybe even 4th generation- but note: Your mileage and experience may be different!
If you have an LX with manual doors, there is no cable. So the tail light and side panel don't even need to be removed!
3rd generation update- My brother had issues with his '07 Odyssey sliding door. So we proceeded to check out and repair his rollers. Same procedure, just that some of the details are different. So this does work for 1999 through 2010 Odysseys. (I have updated with the 3rd generation differences: screws and bolts have switched, and the cover moves to the front vs. to the rear!)
|
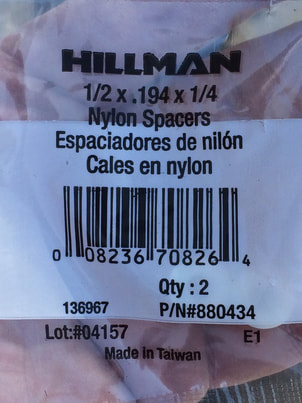
Fortunately there are a lot of posts in the OdyClub forums on how to fix this. One post here by 02honda02 even included part numbers for Lowe's Hardware, but these rollers are available in lots of places! Here's a picture with the dimensions and part number.
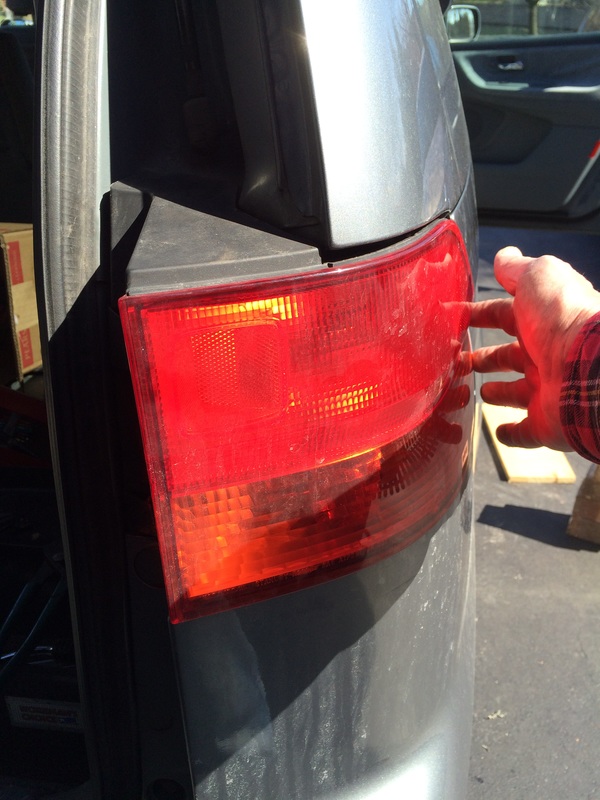
So with gift card in hand, stopped off at Lowes to search out the part. One packet contains two rollers to fix one door. Picked up 3, one for each door and a spare! The forum also lists an e-clip, but many say it's not needed. Just under a dollar for each pack of rollers-I mean 'Nylon Spacers'! First step is to remove the tail lamp. Open the tailgate and flip open the covering tabs with a screwdriver. Then either use a phillips screwdriver or small socket to remove the two small bolts. Then use two hands to pull the lamp out. (Sorry, my 2nd hand is holding the camera!) This is similar on the 3rd generation.
|
|
|
|
|
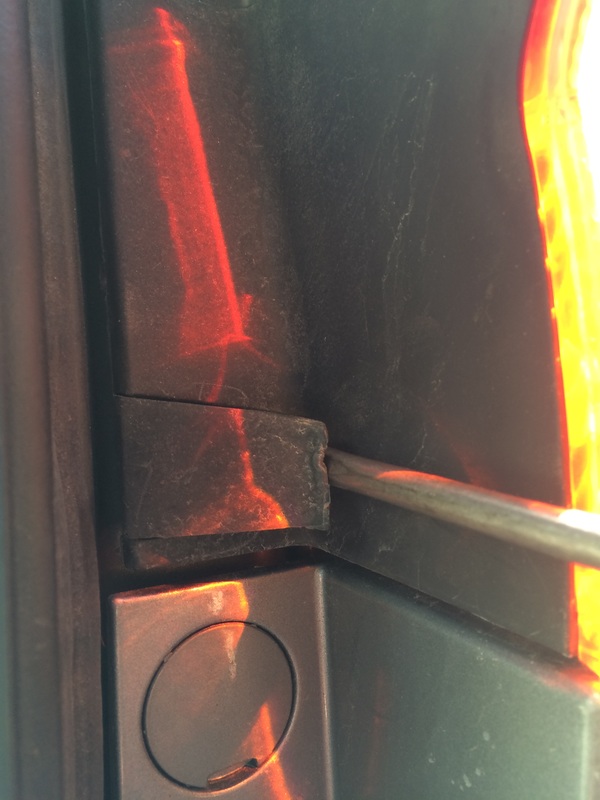
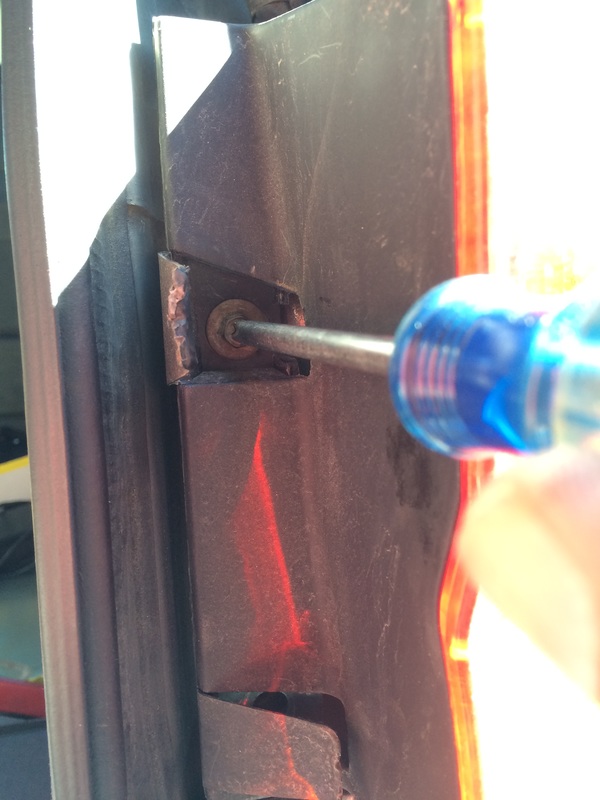
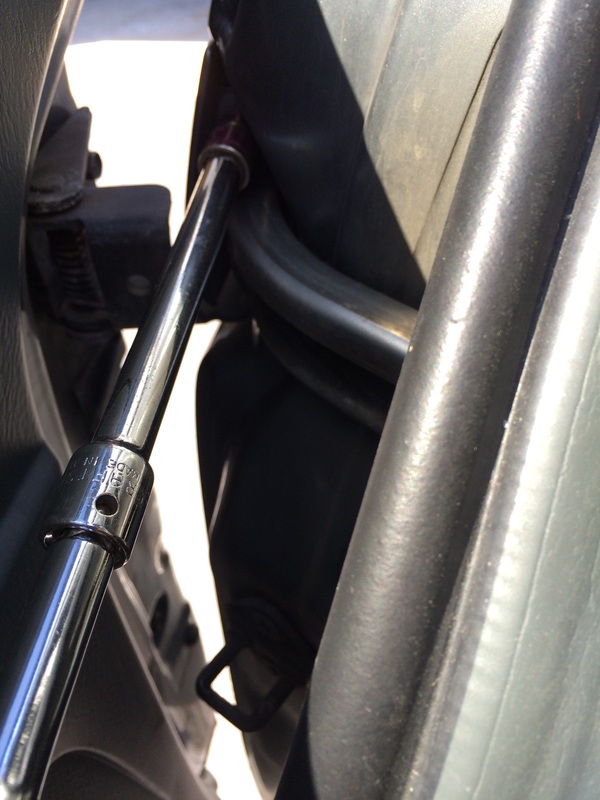
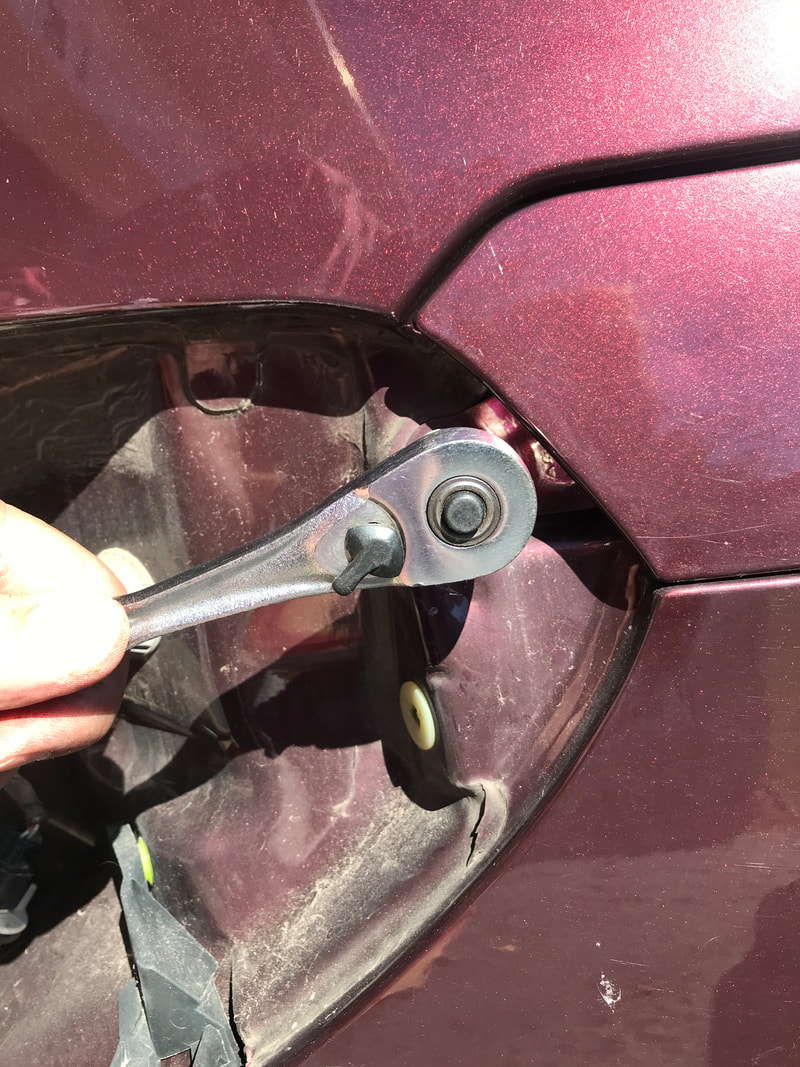
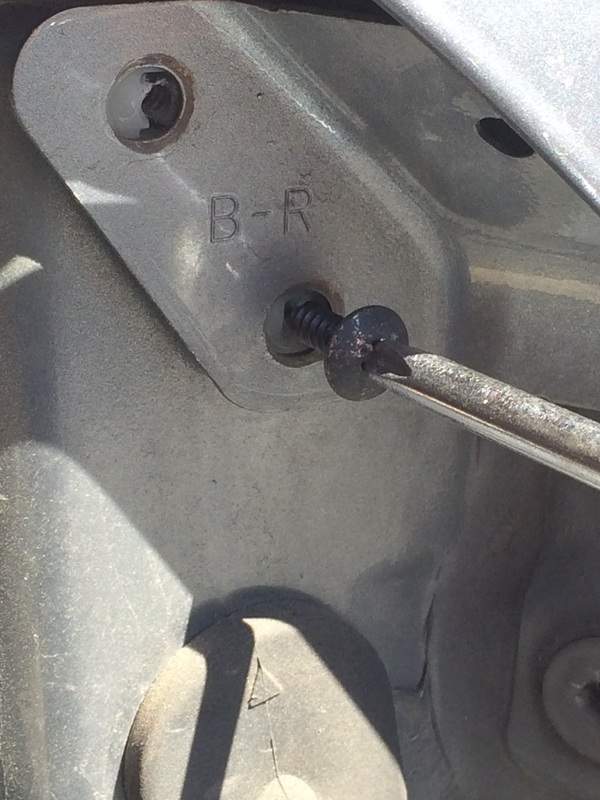
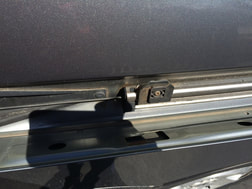
Behind the tail lamp are 2 screws securing one end of the metal cover which hides the sliding track. (3rd Gen has 1 bolt securing the cover). We can remove those in a moment. Open the sliding door fully. Now is a good time to switch off the power for the doors! There is a single 10mm bolt securing the front of the cover. (3rd Gen has a phillips screw!) After removing that bolt, move the door forward- but don't close it fully. Now we can remove the two phillips head screws (or 1 bolt) by the tail light.
|
|
|
|
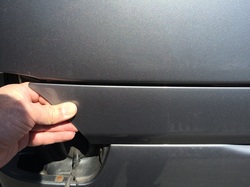
The cover pulls slightly to the rear (pushes forward on 3rd Gen), and then it can be pulled away from the body. There's a keyway that locks the cover to 3 clips on the body.
Next prop the door before removing the two bolts that attach the door to the roller. |
|
|
These are 12mm bolts, and my socket wrench had plenty of room to remove them. With the door released and propped, the roller assembly can be moved towards the back, as if the door were opening. Note that sometimes there may be a shim between the door and the roller.
|
|
|
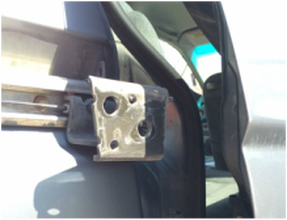
You can now pivot the roller out of the track, and use a rag to avoid scratching the body. No need to remove the assembly from the cable. Actually, as noted below you cannot remove the cable unless you remove the inside panel and release the tension on the motor!
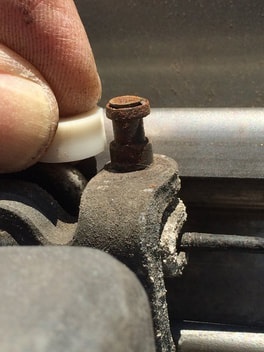
No wonder the door was hard to operate- one roller broke away! And the hinge was stiff because this door was rarely used. The clip has to be removed from the top of both pins. I used a screwdriver, wire cutter and pliers to rip them off.
Using a 7/32" drill, I drilled out about 1/3rd of each roller so that it fits over the shoulder of the pin and sits lower. |
|

I used some bearing/axle grease to lubricate the pins, and slipped on the new rollers. (drilled out part to the bottom) I also lubricated the hinge. A little pressure is needed to push it onto the pin- that's why some post to use a Dremel on the top of the pin. I just used a channel-lock to push the roller on.
Re-installation is just the reverse. I used the existing dirt to line up the roller assembly with the door before tightening the bolts. Others suggest that before starting, use a sharpie or masking tape to mark where the roller attaches to the door.
I also watched a couple videos before starting this project. Some of them went so far as removing interior panels to expose the power door motor- totally unnecessary! No need to release tension on the cables, there is enough slack to unhook the roller. And the cables can easily move back and forth- just like operating the power door manually.
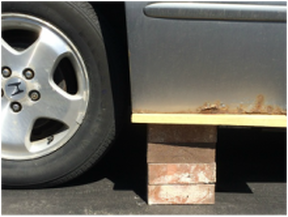
Just be careful that your door does not fall off of it's prop or stand! Some people use their jack or a milk crate, I just had a stack of bricks on hand, along with some wood to prevent scratches on the underside.
Re-installation is just the reverse. I used the existing dirt to line up the roller assembly with the door before tightening the bolts. Others suggest that before starting, use a sharpie or masking tape to mark where the roller attaches to the door.
I also watched a couple videos before starting this project. Some of them went so far as removing interior panels to expose the power door motor- totally unnecessary! No need to release tension on the cables, there is enough slack to unhook the roller. And the cables can easily move back and forth- just like operating the power door manually.
Just be careful that your door does not fall off of it's prop or stand! Some people use their jack or a milk crate, I just had a stack of bricks on hand, along with some wood to prevent scratches on the underside.
Driver side door would not show as closed
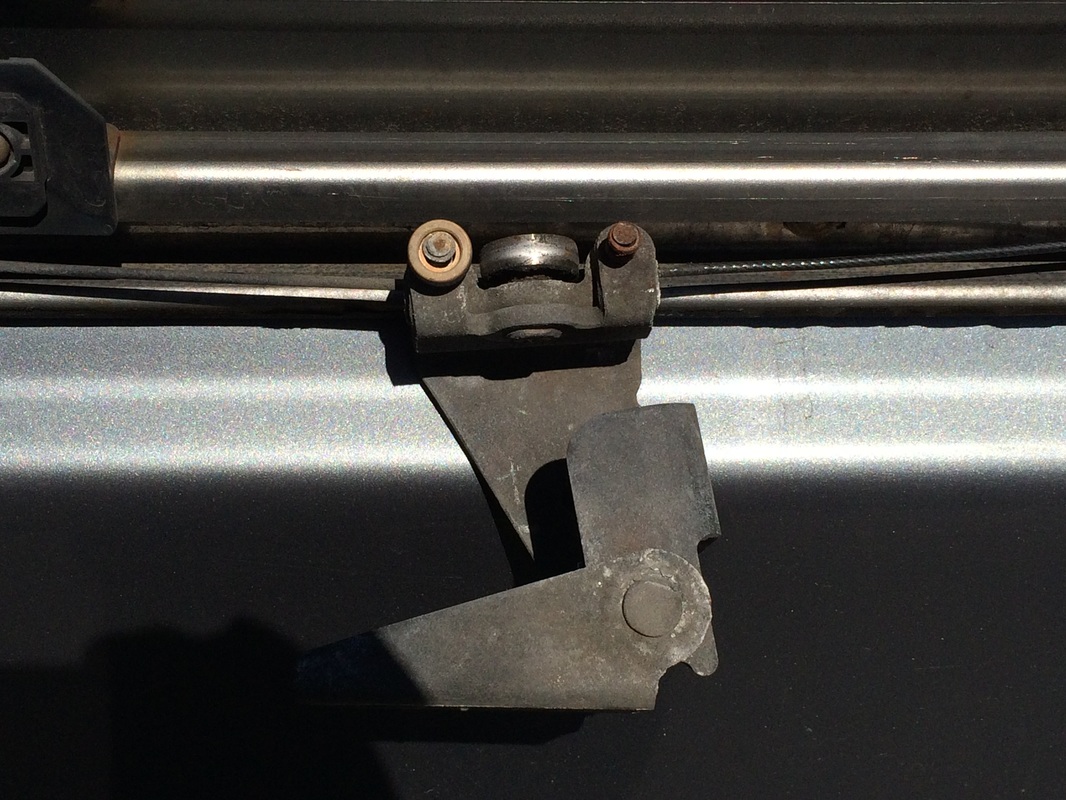
The other door rollers were still in good condition. But the door would rarely indicate that it was closed. Because of this, the interior lights would always stay on. So the interior light switch would have to be left in the off position.
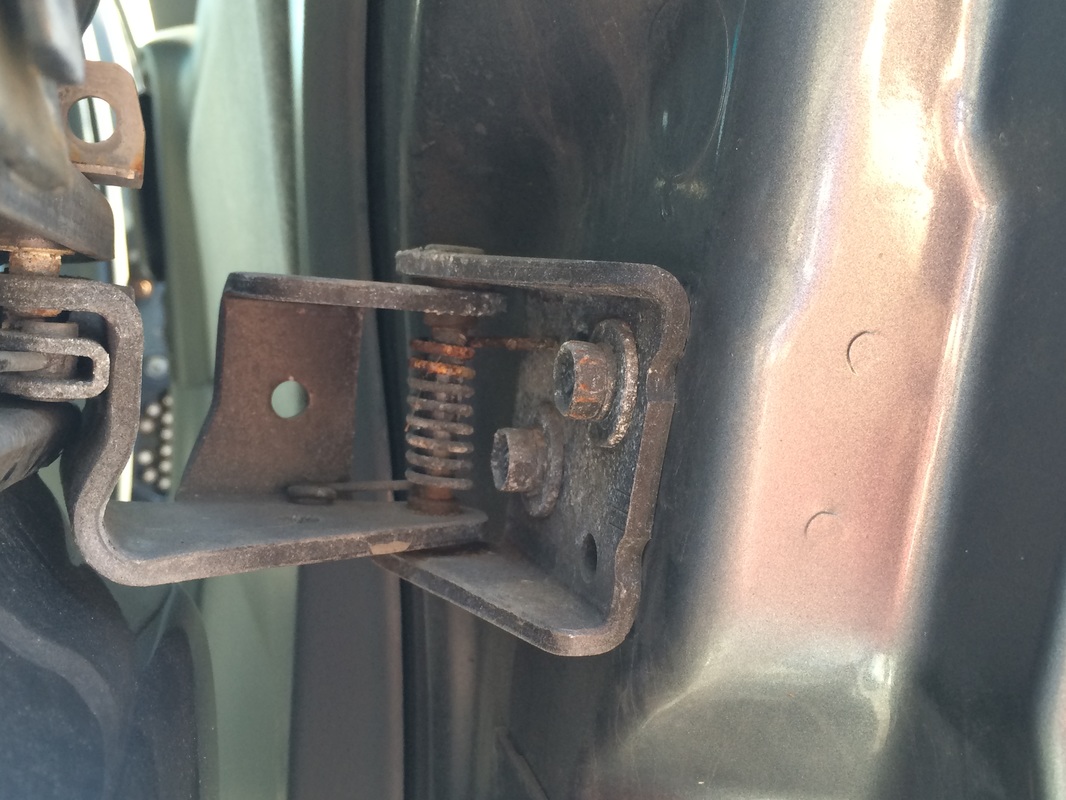
Turns out the hinge portion of the roller assembly was very stiff. I was planning to replace the rollers, but they were still in excellent condition! Applied some WD-40 to free up the hinge. Worked it free and then applied bearing grease to the hinge pin. Reassembled the door, and now the dash light goes out when the door closes. I can now switch the interior lights back on! So nice to have the lights come on automatically at night!
Turns out the hinge portion of the roller assembly was very stiff. I was planning to replace the rollers, but they were still in excellent condition! Applied some WD-40 to free up the hinge. Worked it free and then applied bearing grease to the hinge pin. Reassembled the door, and now the dash light goes out when the door closes. I can now switch the interior lights back on! So nice to have the lights come on automatically at night!
Conclusion
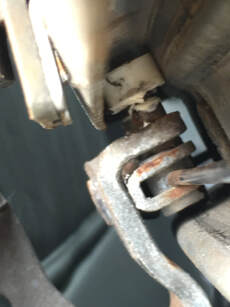
After making this repair, further research on the OdyClub Forum shows that my experience is not the norm. Frequently there is an issue with the lower latch assembly located in the door. The latch has several micro-switches, which may fail or get out of alignment. Some members repair the assembly, others replace the module. These switches are available at DigiKey, some are 'Normally Open' and some are 'Normally Closed'.
On the 3rd Generation (2005-2010) if the 'Slide Door' lamp is illuminated, you can pull the body codes using an advanced OBD scanner. These codes can help indicate where the issue is. Don't have an appropriate scanner? There's a "foil trick" posted here at the OdyClub detailing how to do this: Sliding door light
On the 3rd Generation (2005-2010) if the 'Slide Door' lamp is illuminated, you can pull the body codes using an advanced OBD scanner. These codes can help indicate where the issue is. Don't have an appropriate scanner? There's a "foil trick" posted here at the OdyClub detailing how to do this: Sliding door light
